Tutorial: How to make a fabric party banner

There's something about me you should know. I love to throw a good party! Next to fabric and sewing, I have a love for party planning and decorating. But I guess that goes hand in hand. Us crafty moms just can't help ourselves!
One of my favorite things to make when I'm planning a party is a banner. Usually, I use cardstock and personalize each flag with the recipient's name or a simple "Happy Birthday", but today I'm sharing a tutorial on how to make a party banner out of fabric.
Fabric party banners are simple and easy to make. You'll be surprised how fast you can whip these up! And the best part is you can use your fabric scraps. Follow along as I take you through the steps to create your own:
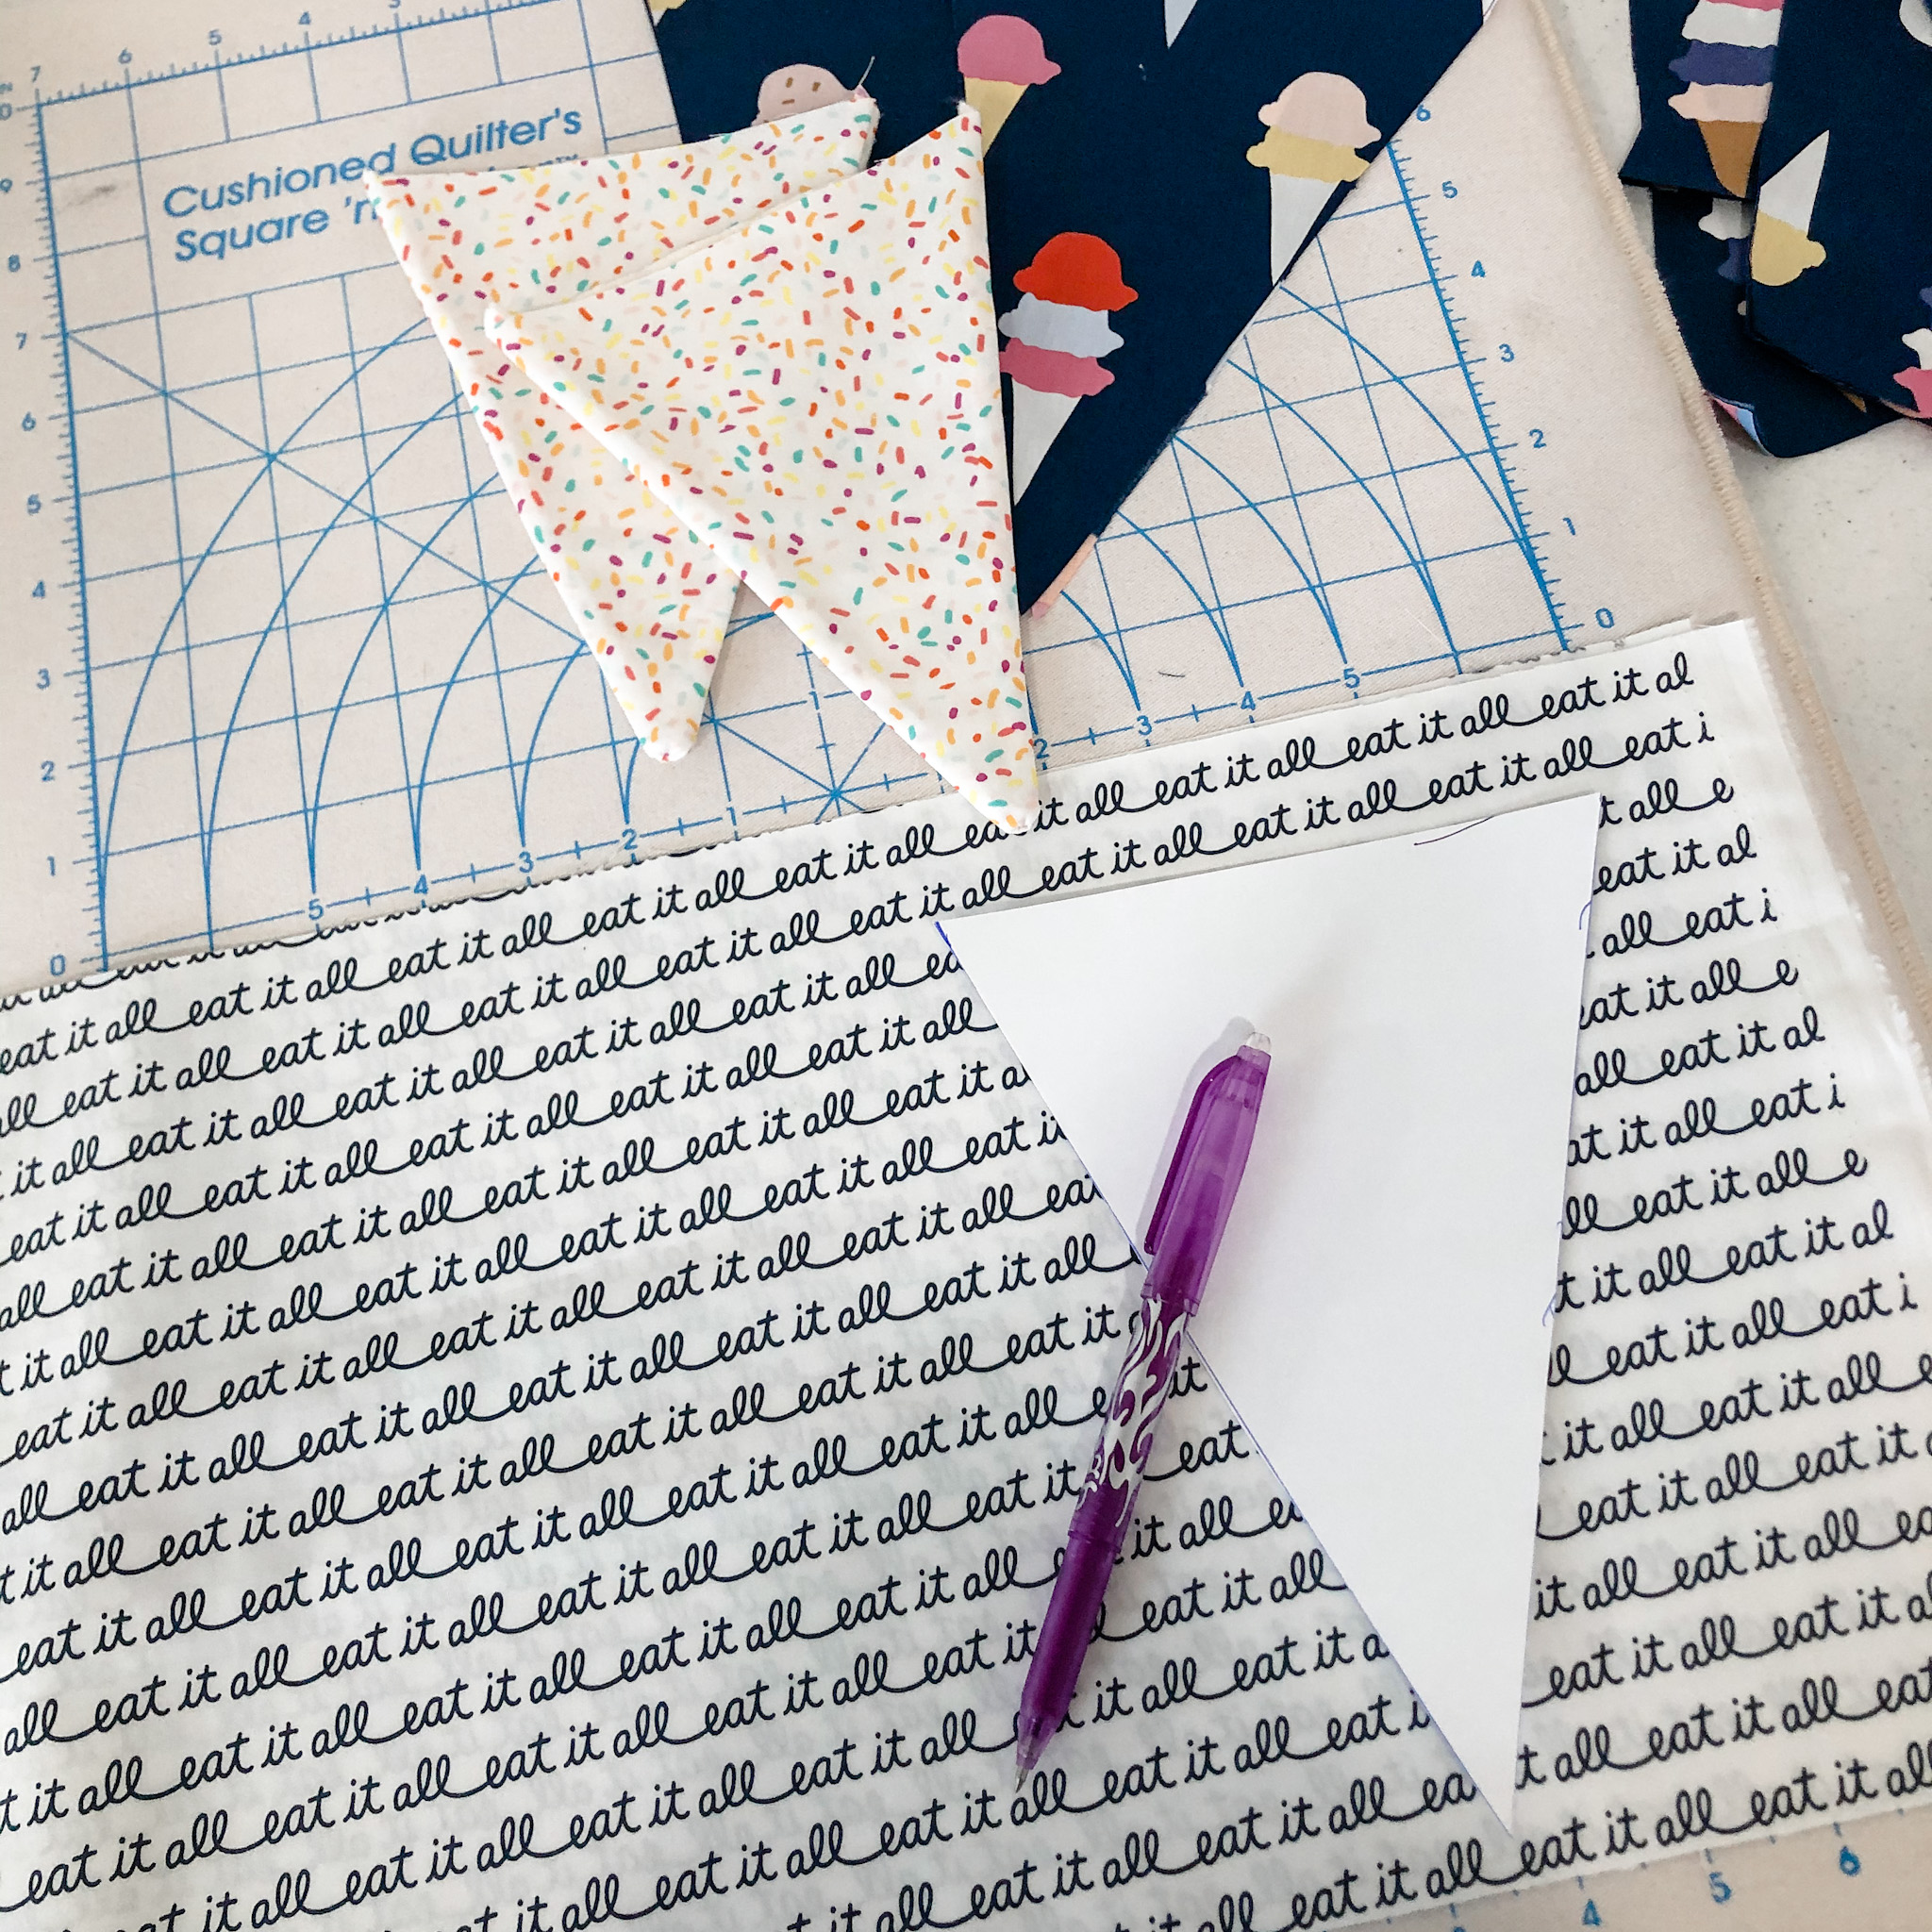
SUPPLIES
Cotton fabric - fat eighth in at least 4 or 5 prints
Cotton batting
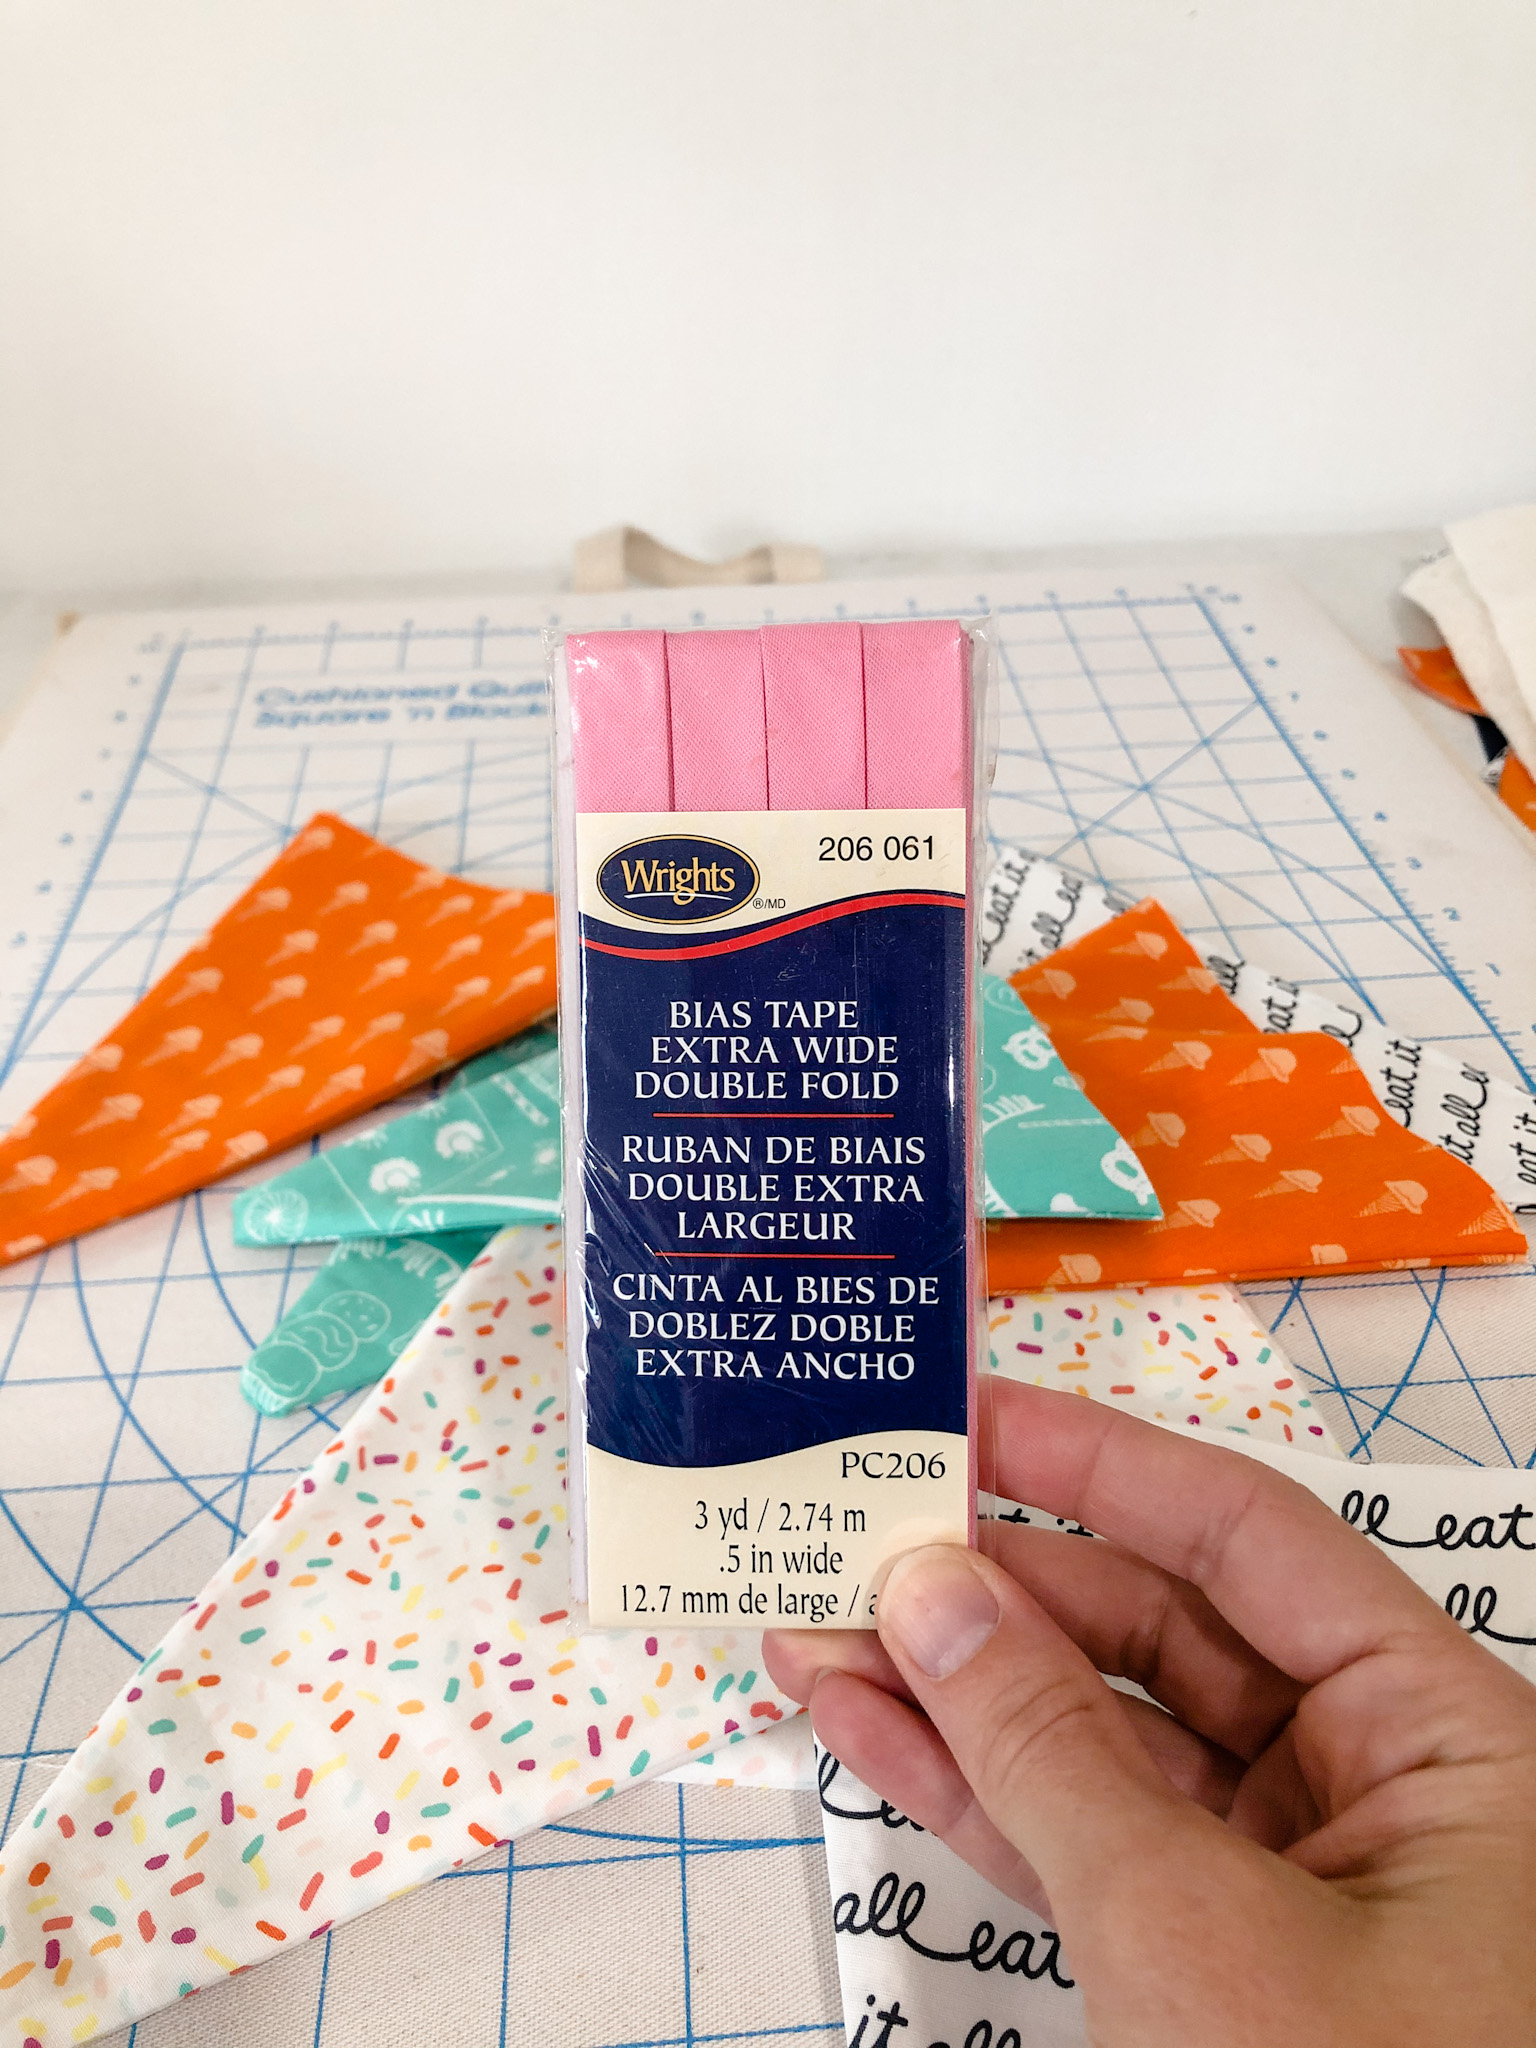
1/2" wide Double fold bias tape - make your own or purchase pre-made
Triangle template
Tracing pen
Basic sewing supplies: sewing machine, thread, scissors, iron & pressing mat, ruler and rotary cutter
Before you begin, determine how long you want or need your banner to be. We used 5 different fabrics and made 2 flags for each one with a total of 10 flags. Our banner measured a little less than 3 yards long.
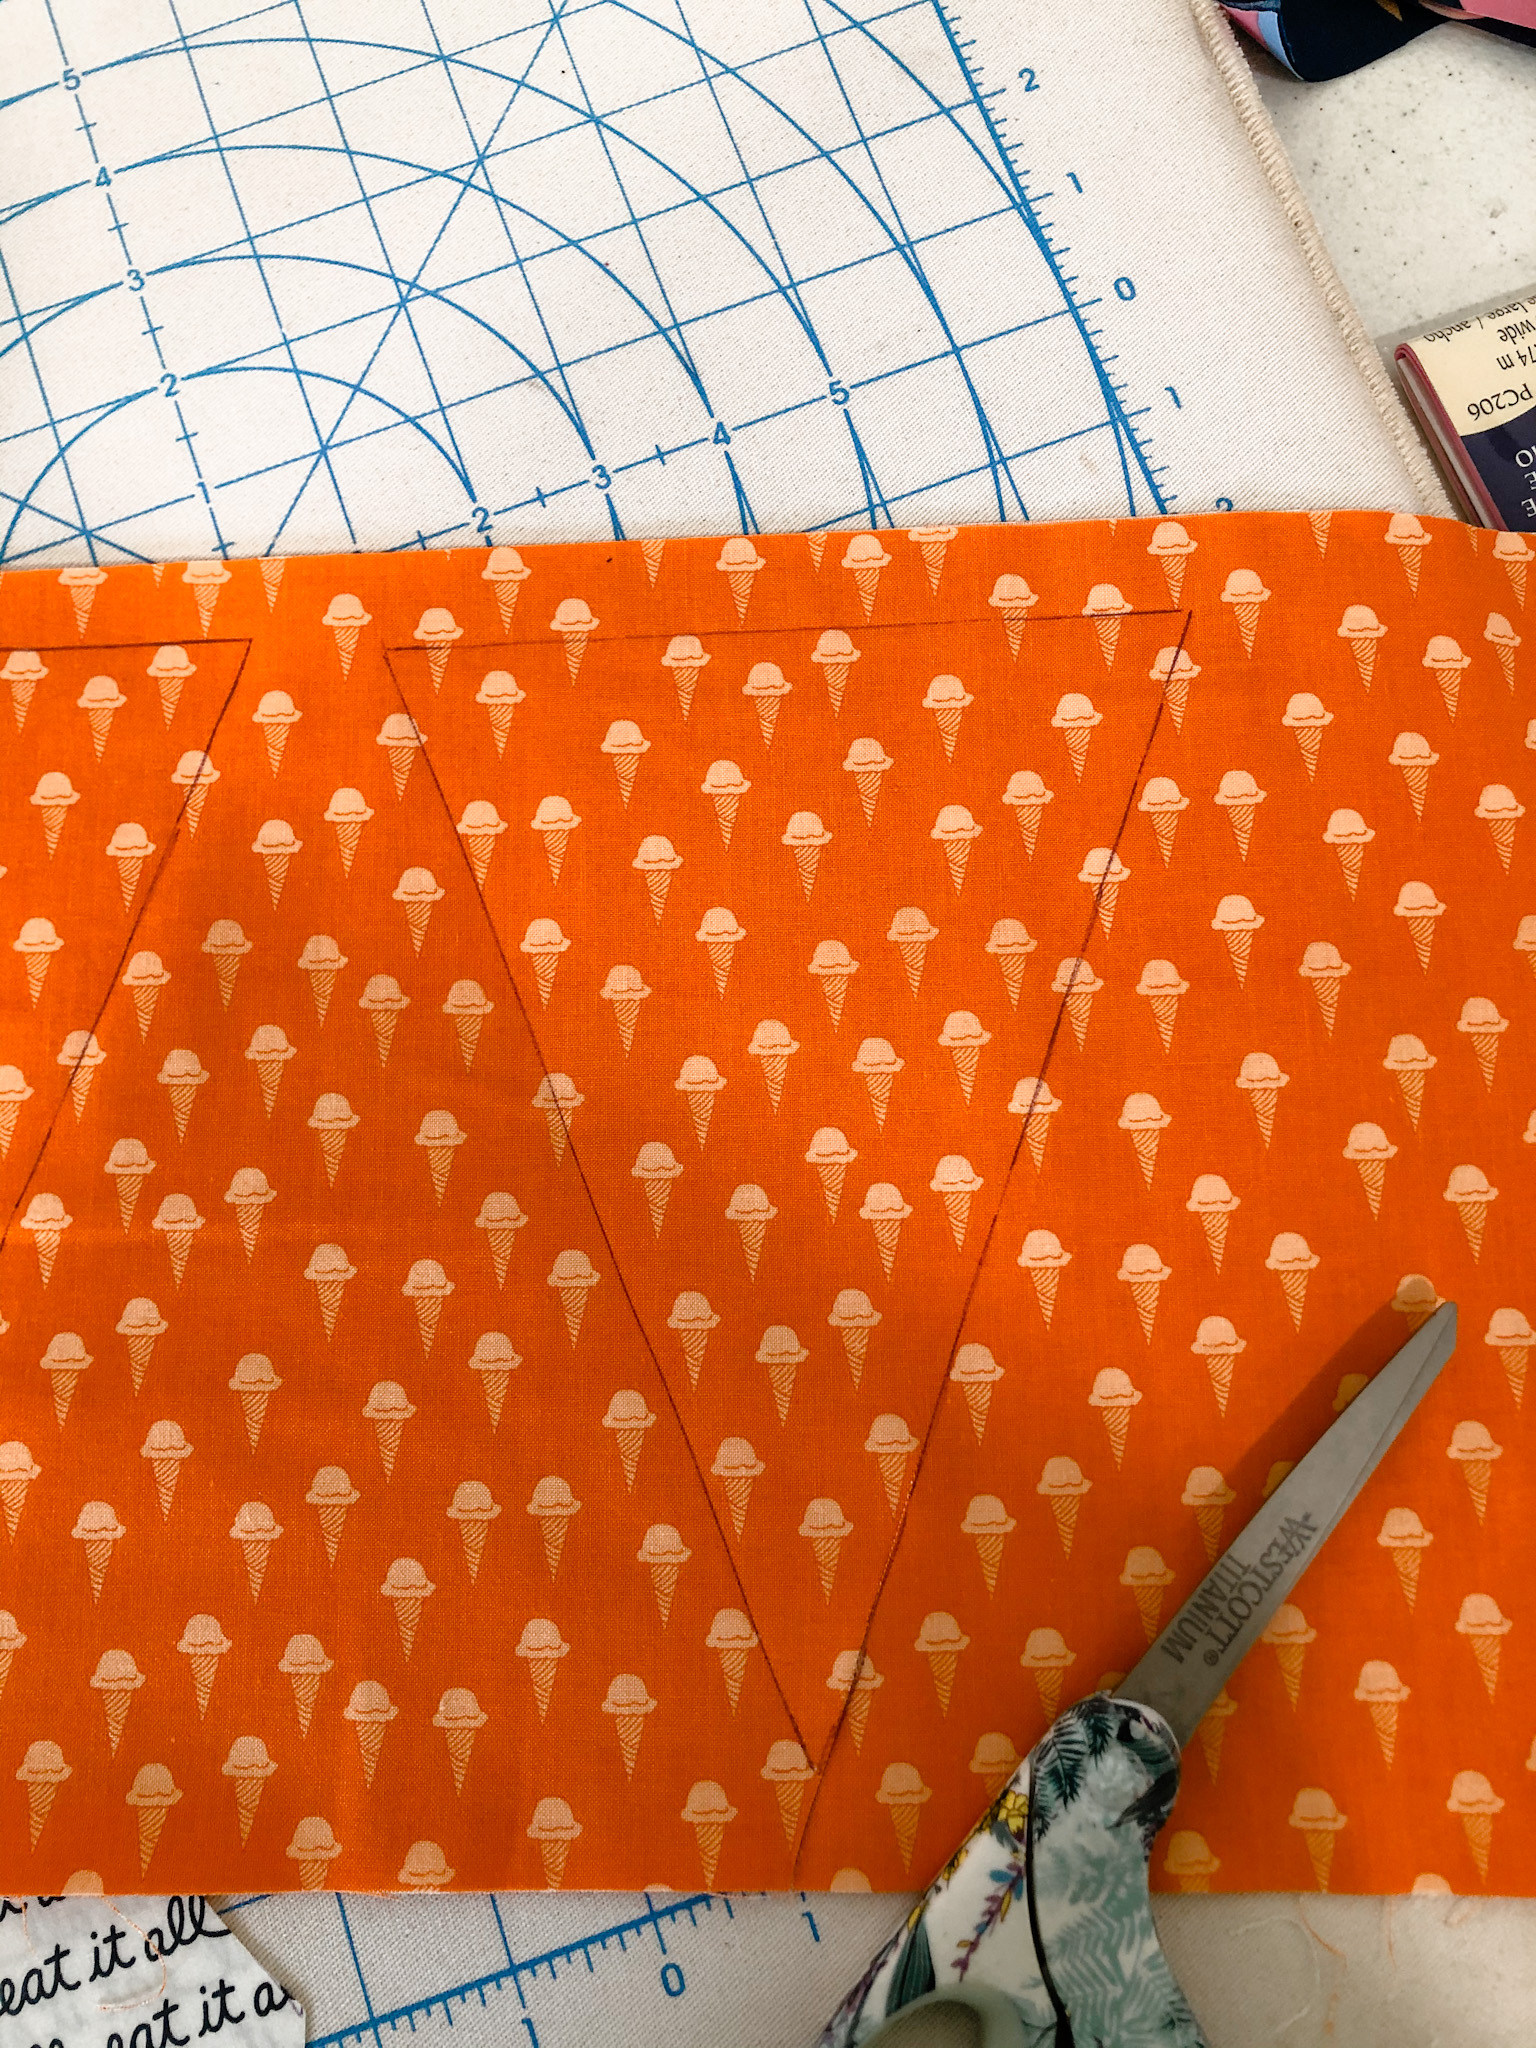
Using your template, trace and cut 2 triangles for each fabric. Press with iron.
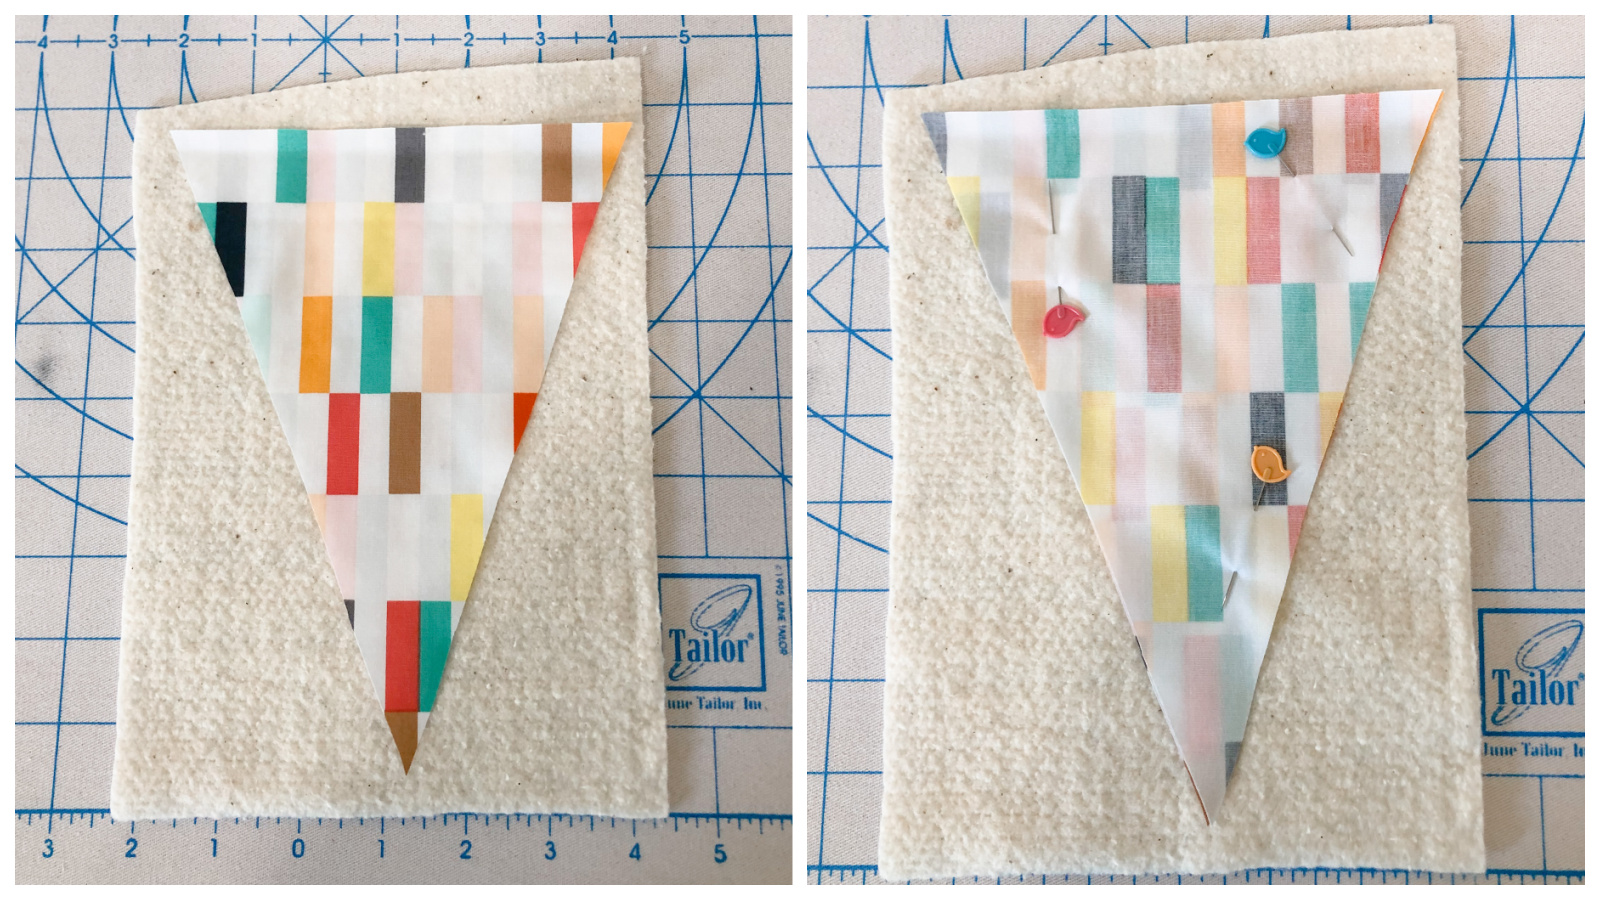
Next, take a piece of your batting and cut it slightly larger than your triangle pieces. There's no need to trace and cut out triangles of batting. Place one of your triangle pieces right side up on top of your batting. Next, place the 2nd fabric piece right side down and pin all layers together.
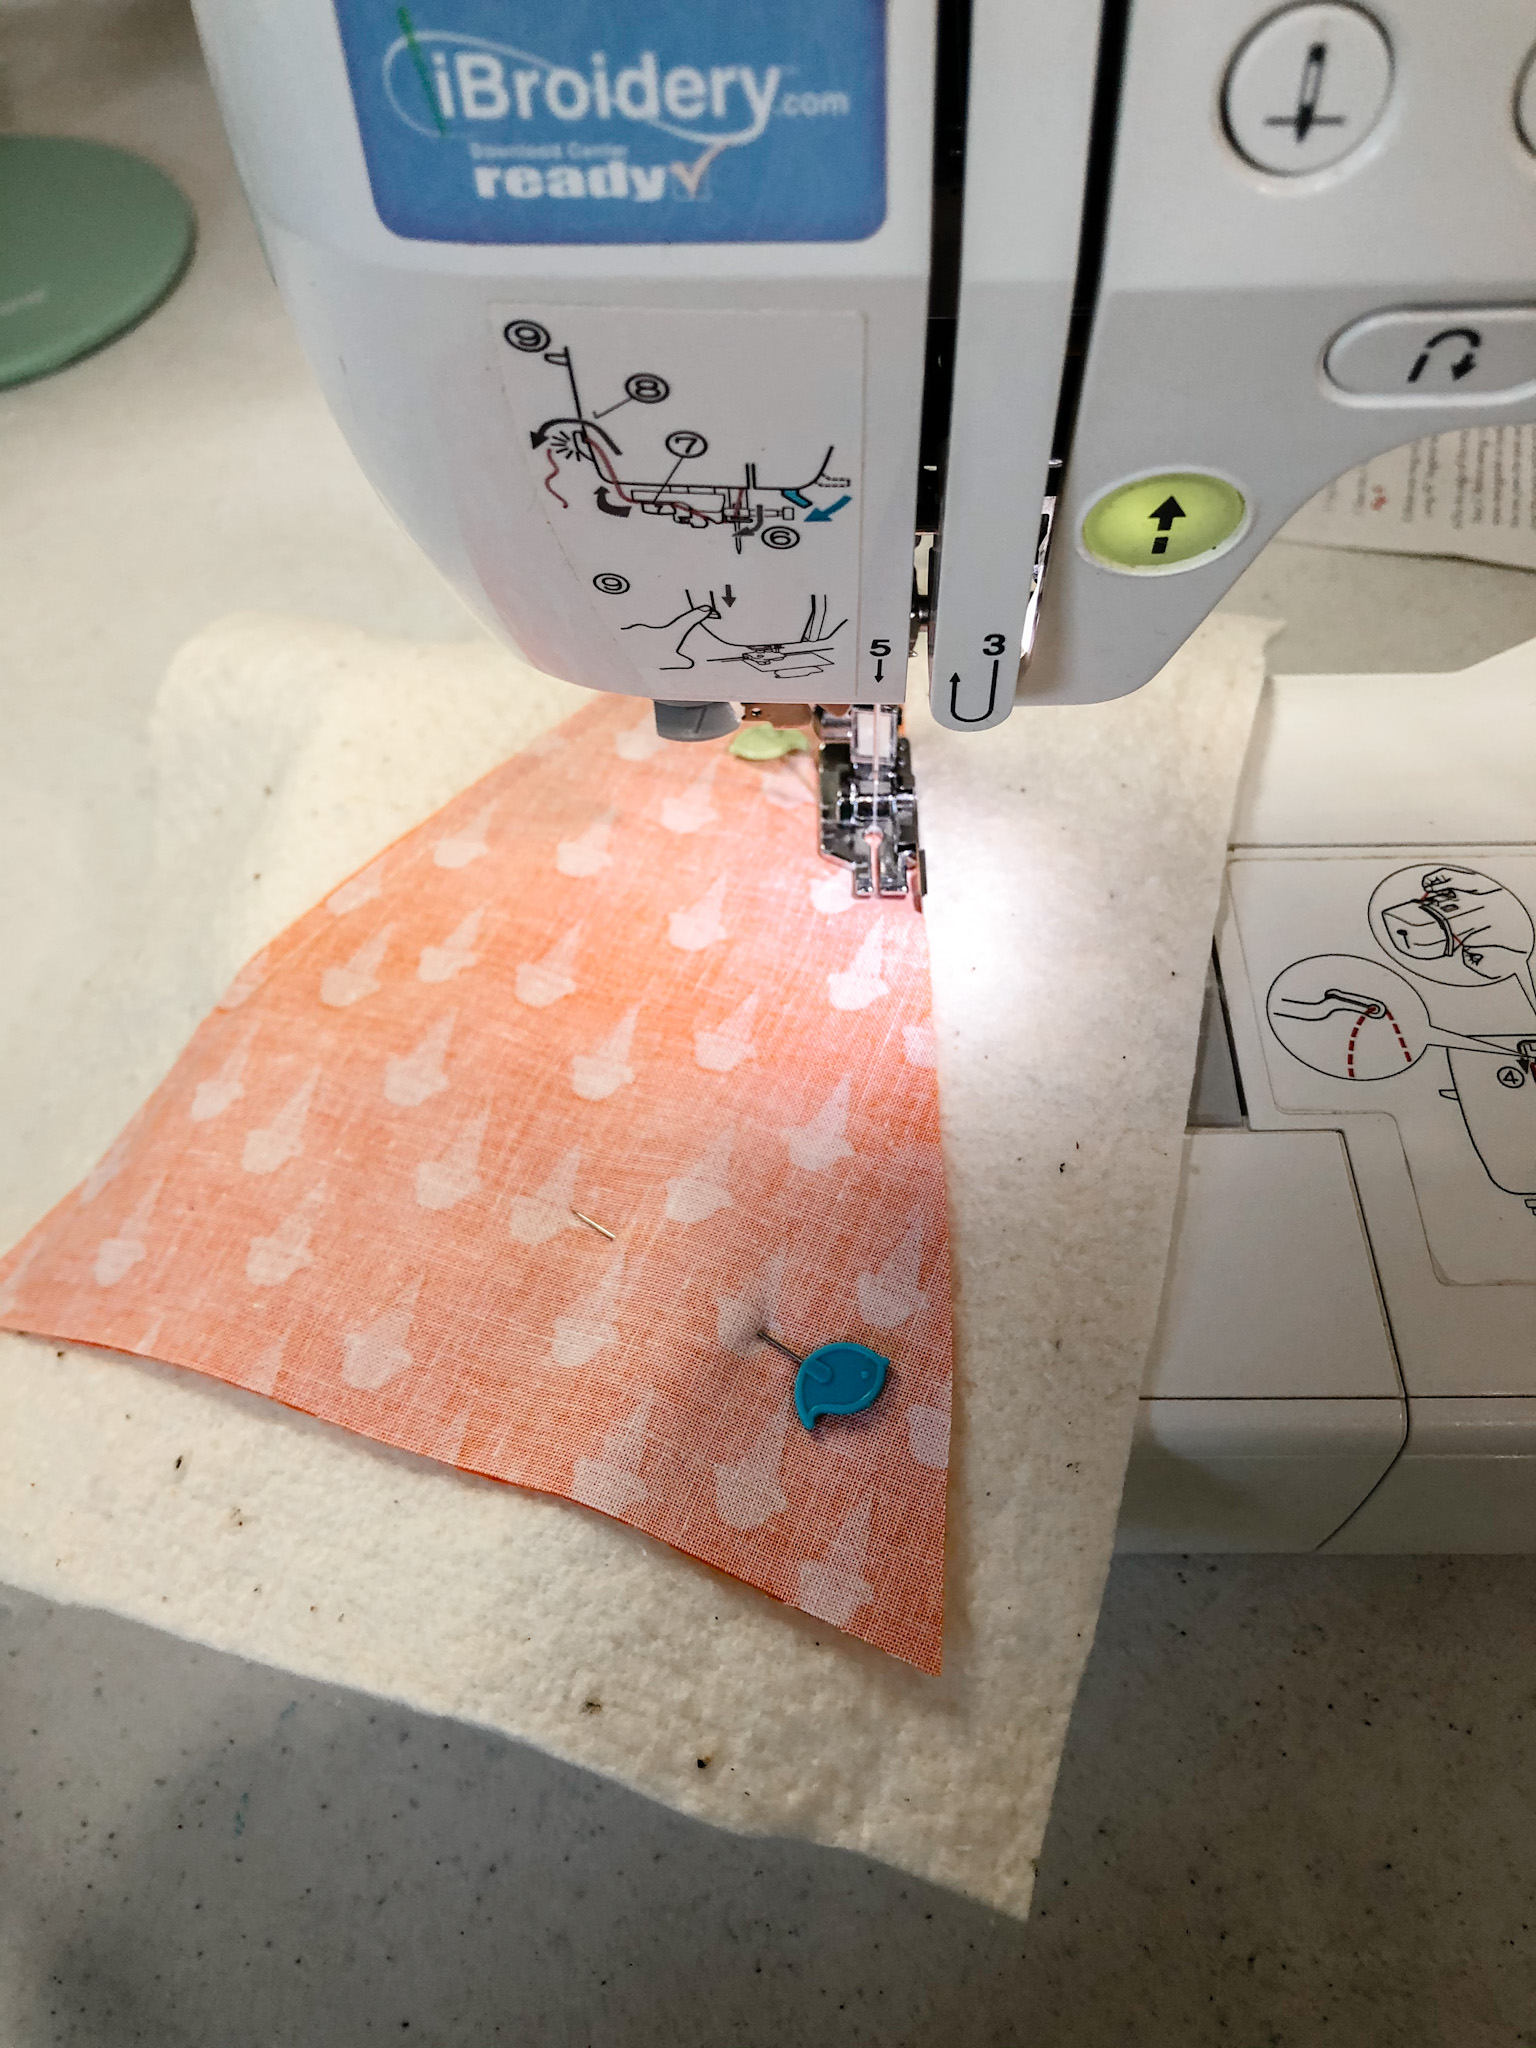
Using a 1/4" seam allowance, sew along the 2 sides of the triangle, leaving the top open.
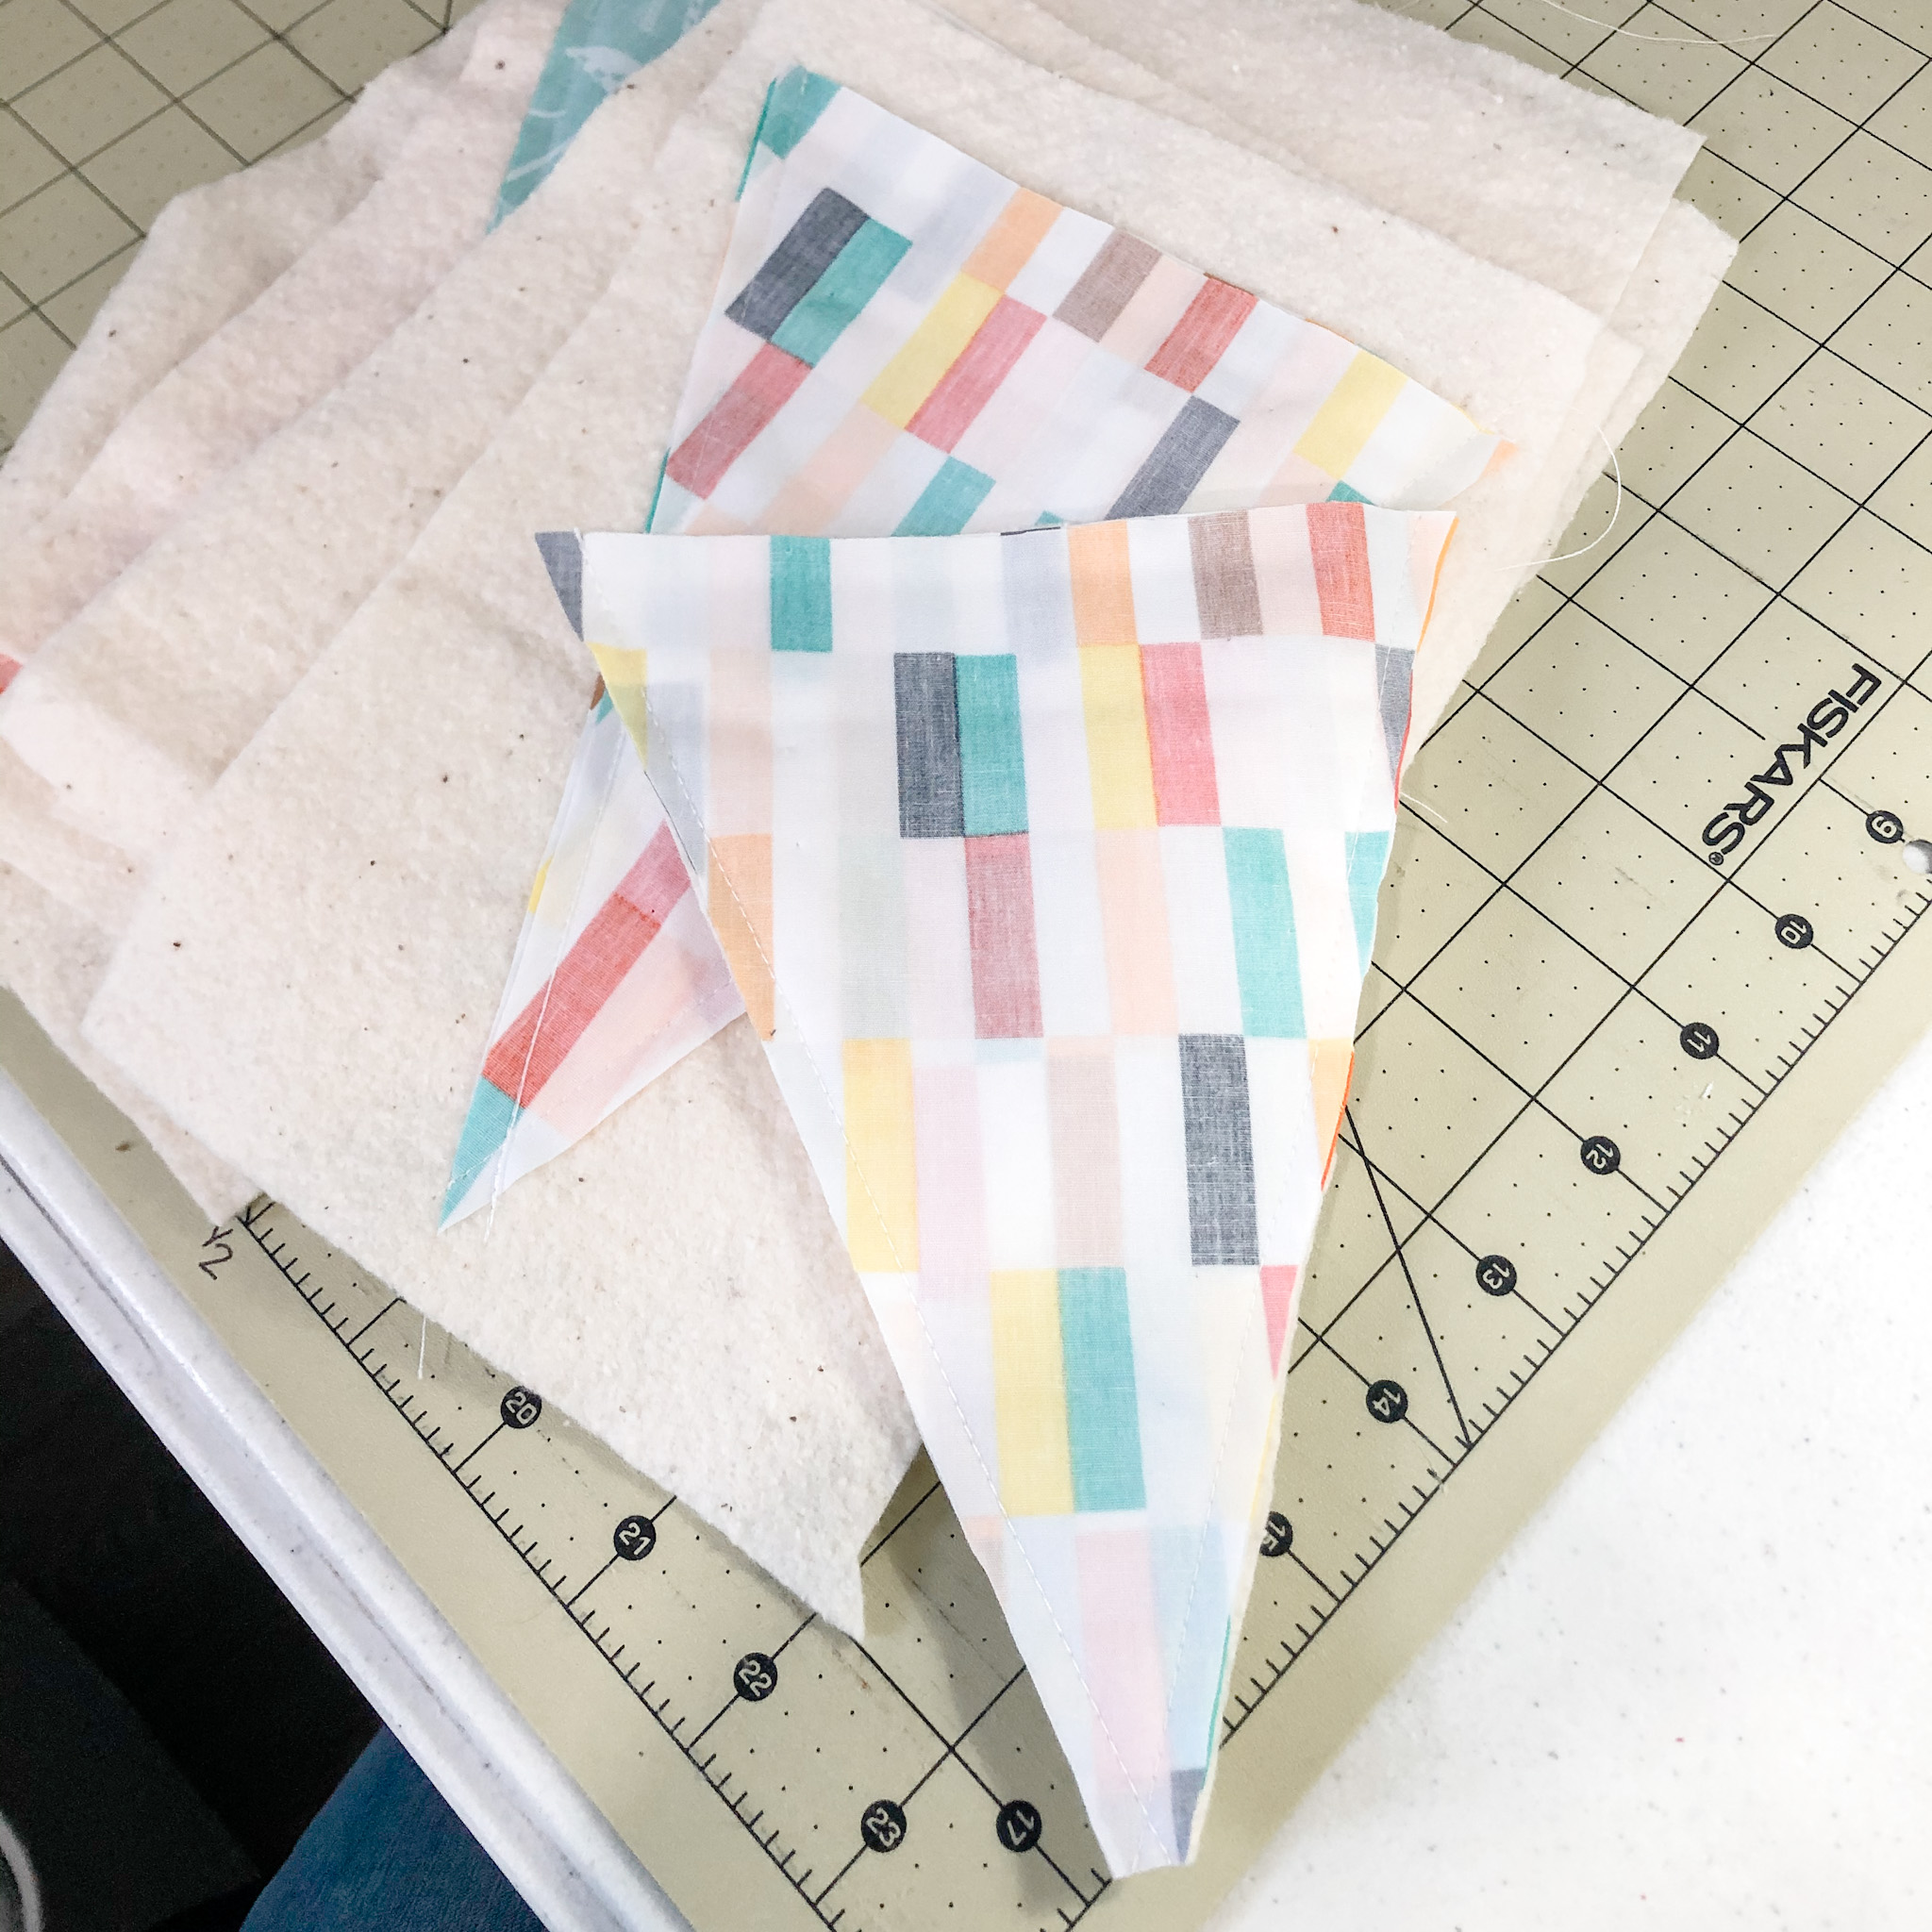
After sewing, trim the excess batting around all sides and clip the bottom point.

Turn your triangle right side out and press with iron. Next, use your ruler and rotary cutter to trim the top edge of each piece.
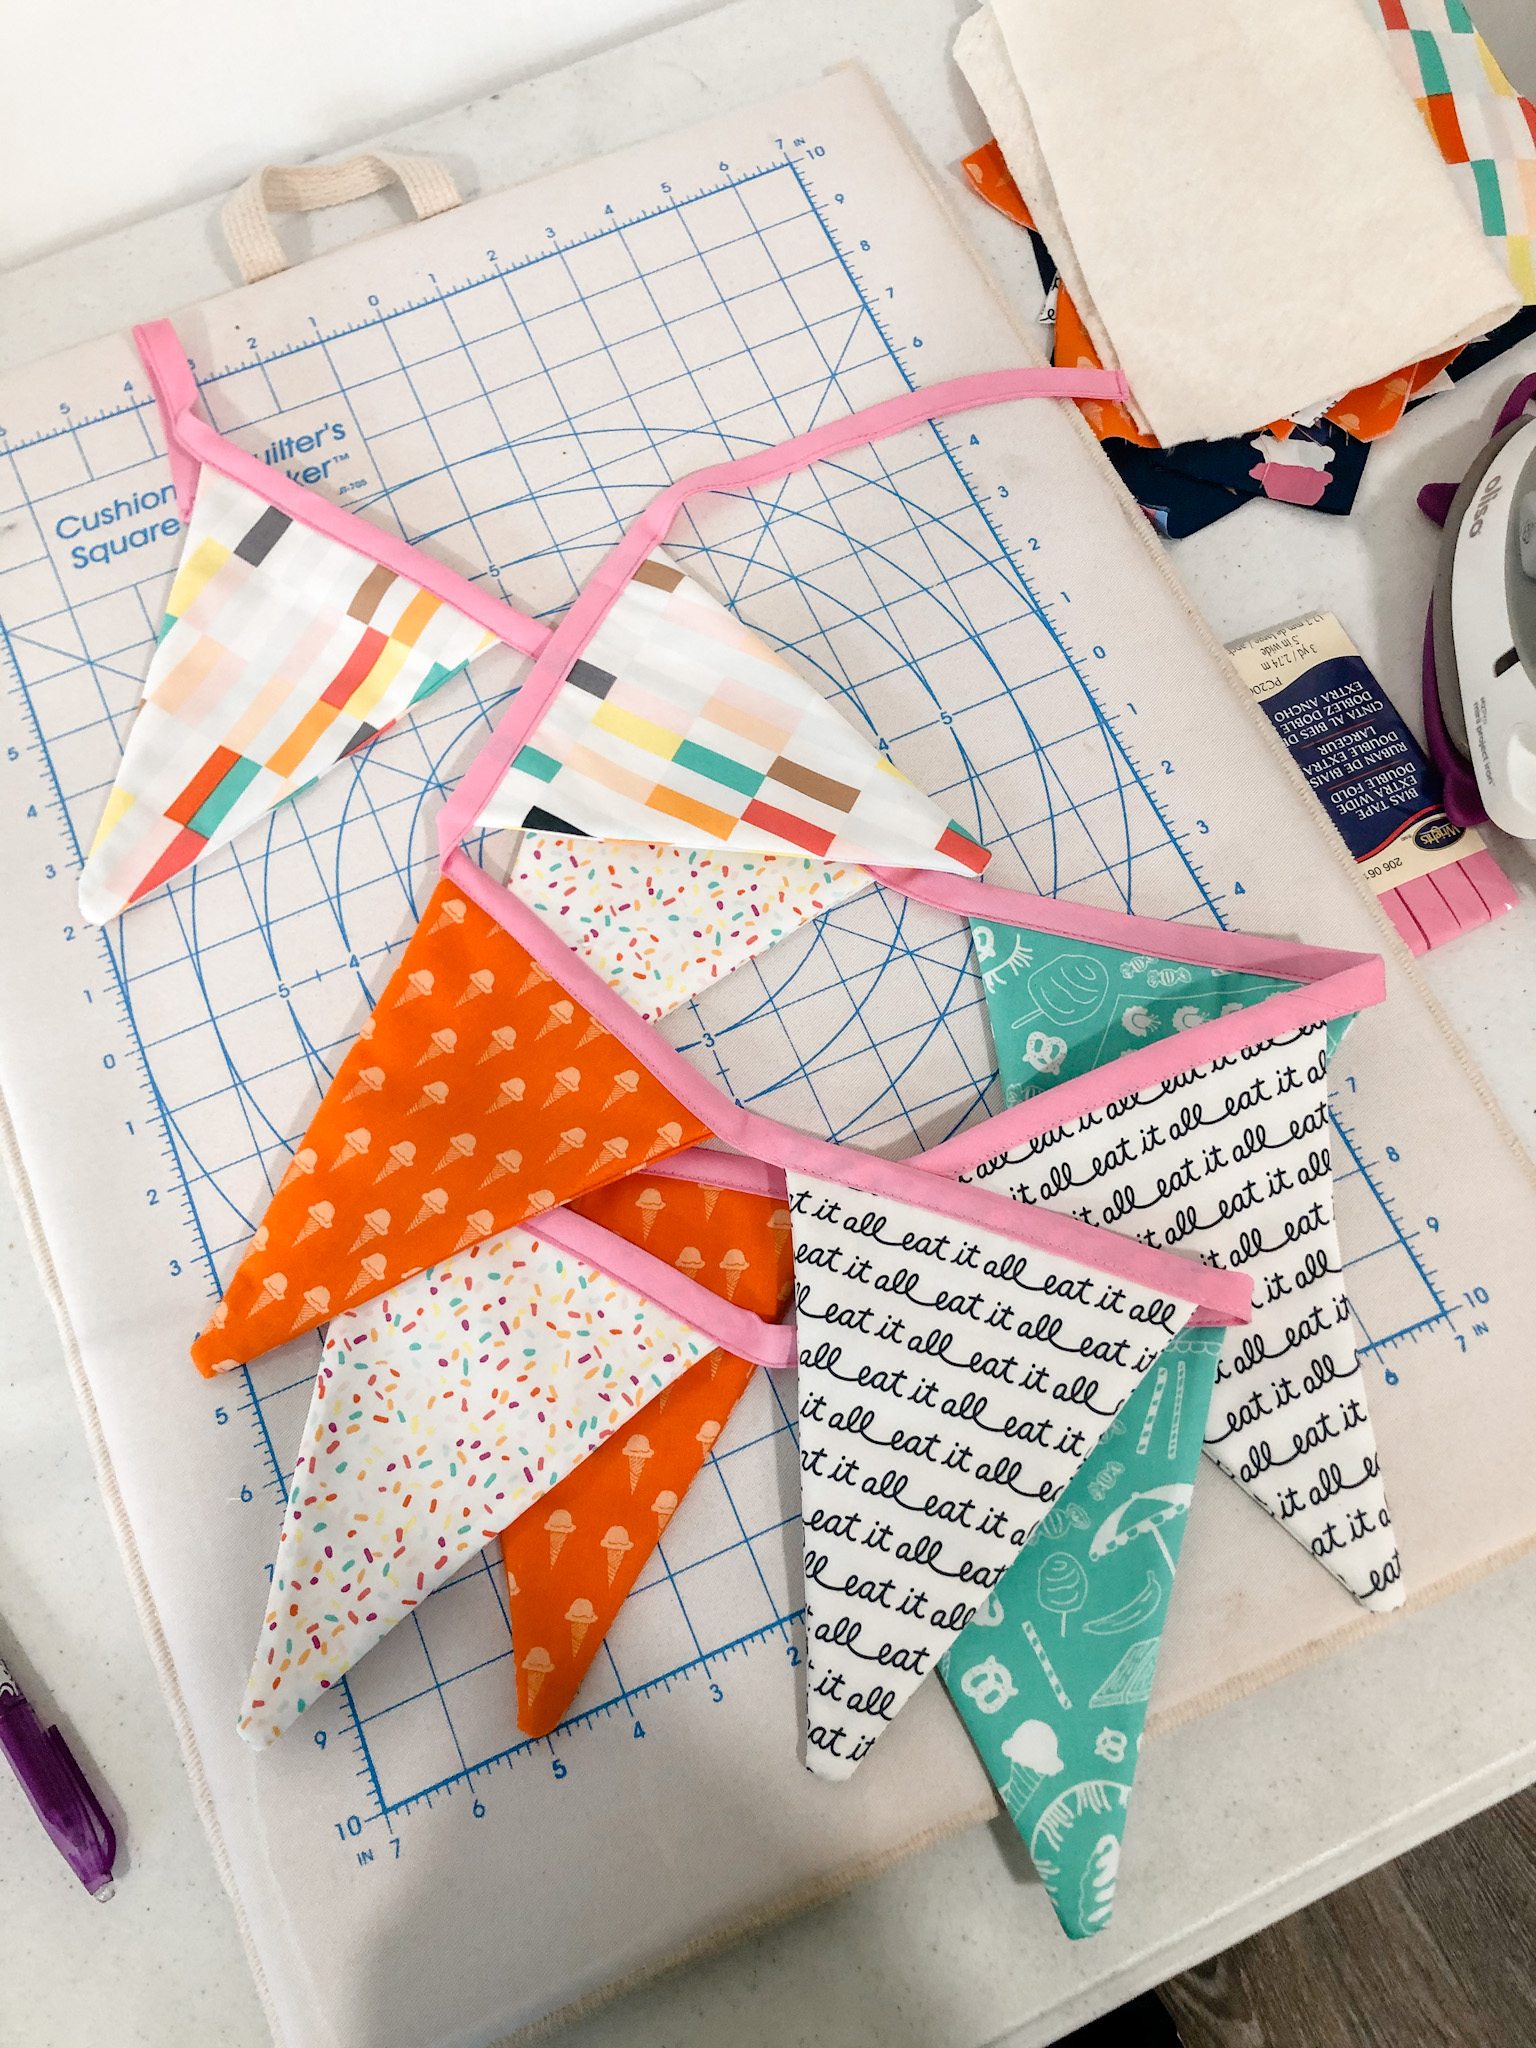
Now, it's time to add the bias tape! Now is a good time to lay out your triangles in the arrangement you like.
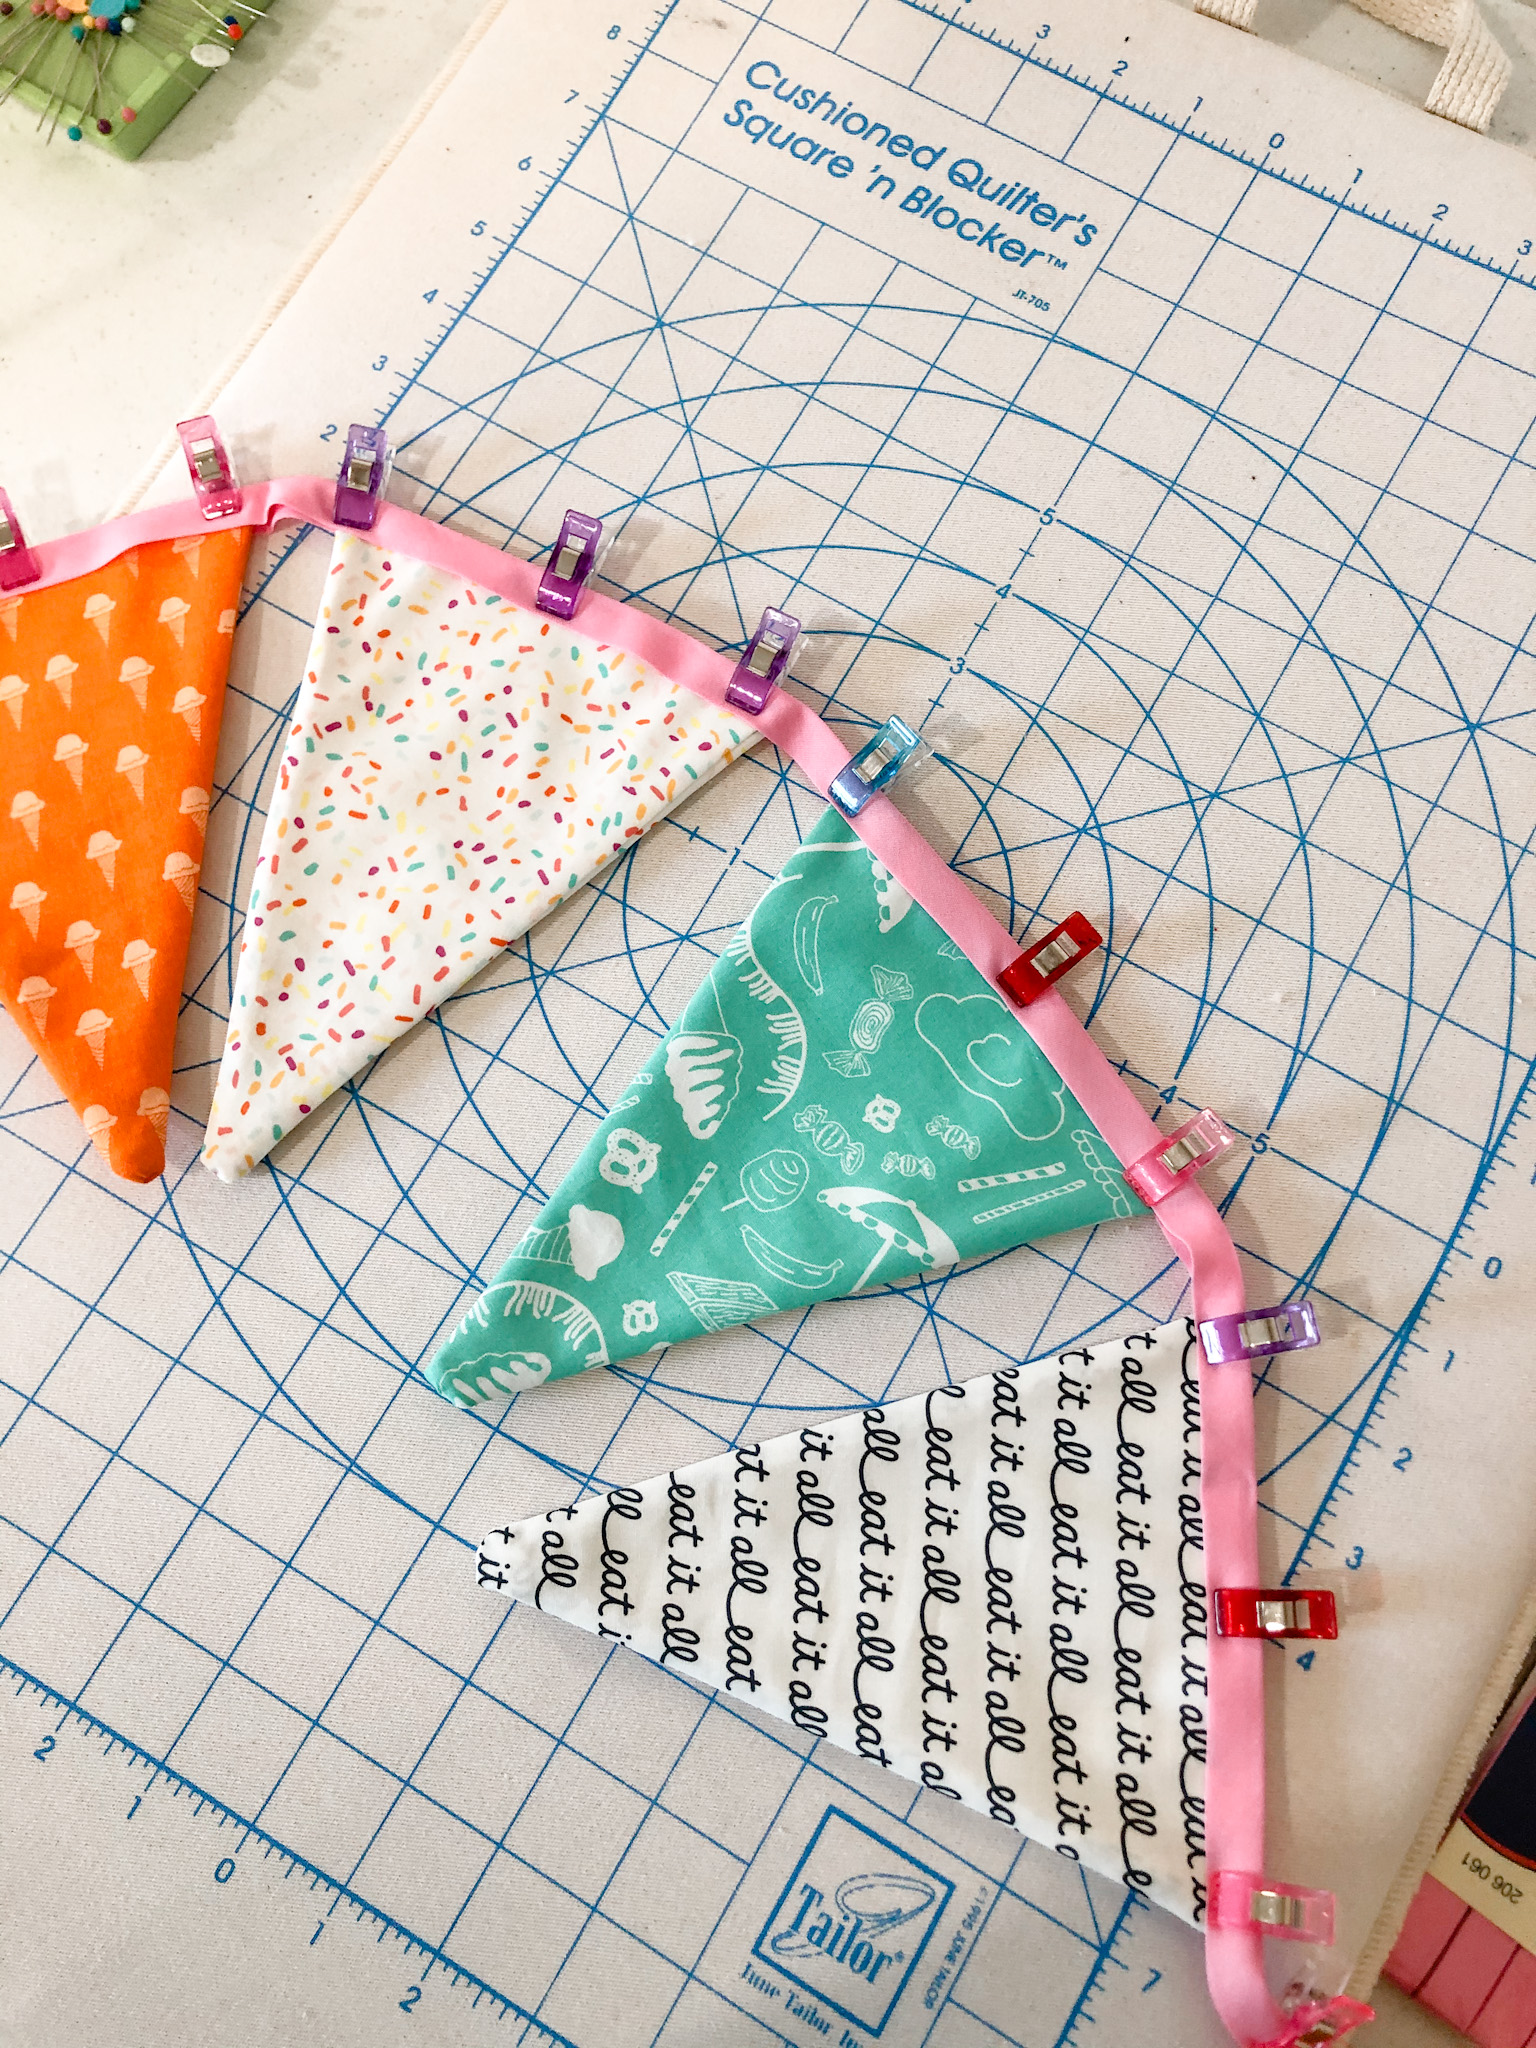
Leaving an 8-10" tail at one end, open the fold of the bias tape and insert the triangle pieces one by one using clips to secure. I used 3 clips per triangle. You can space your triangles tightly together or as spaced out as you'd like. We spaced ours about an inch apart.
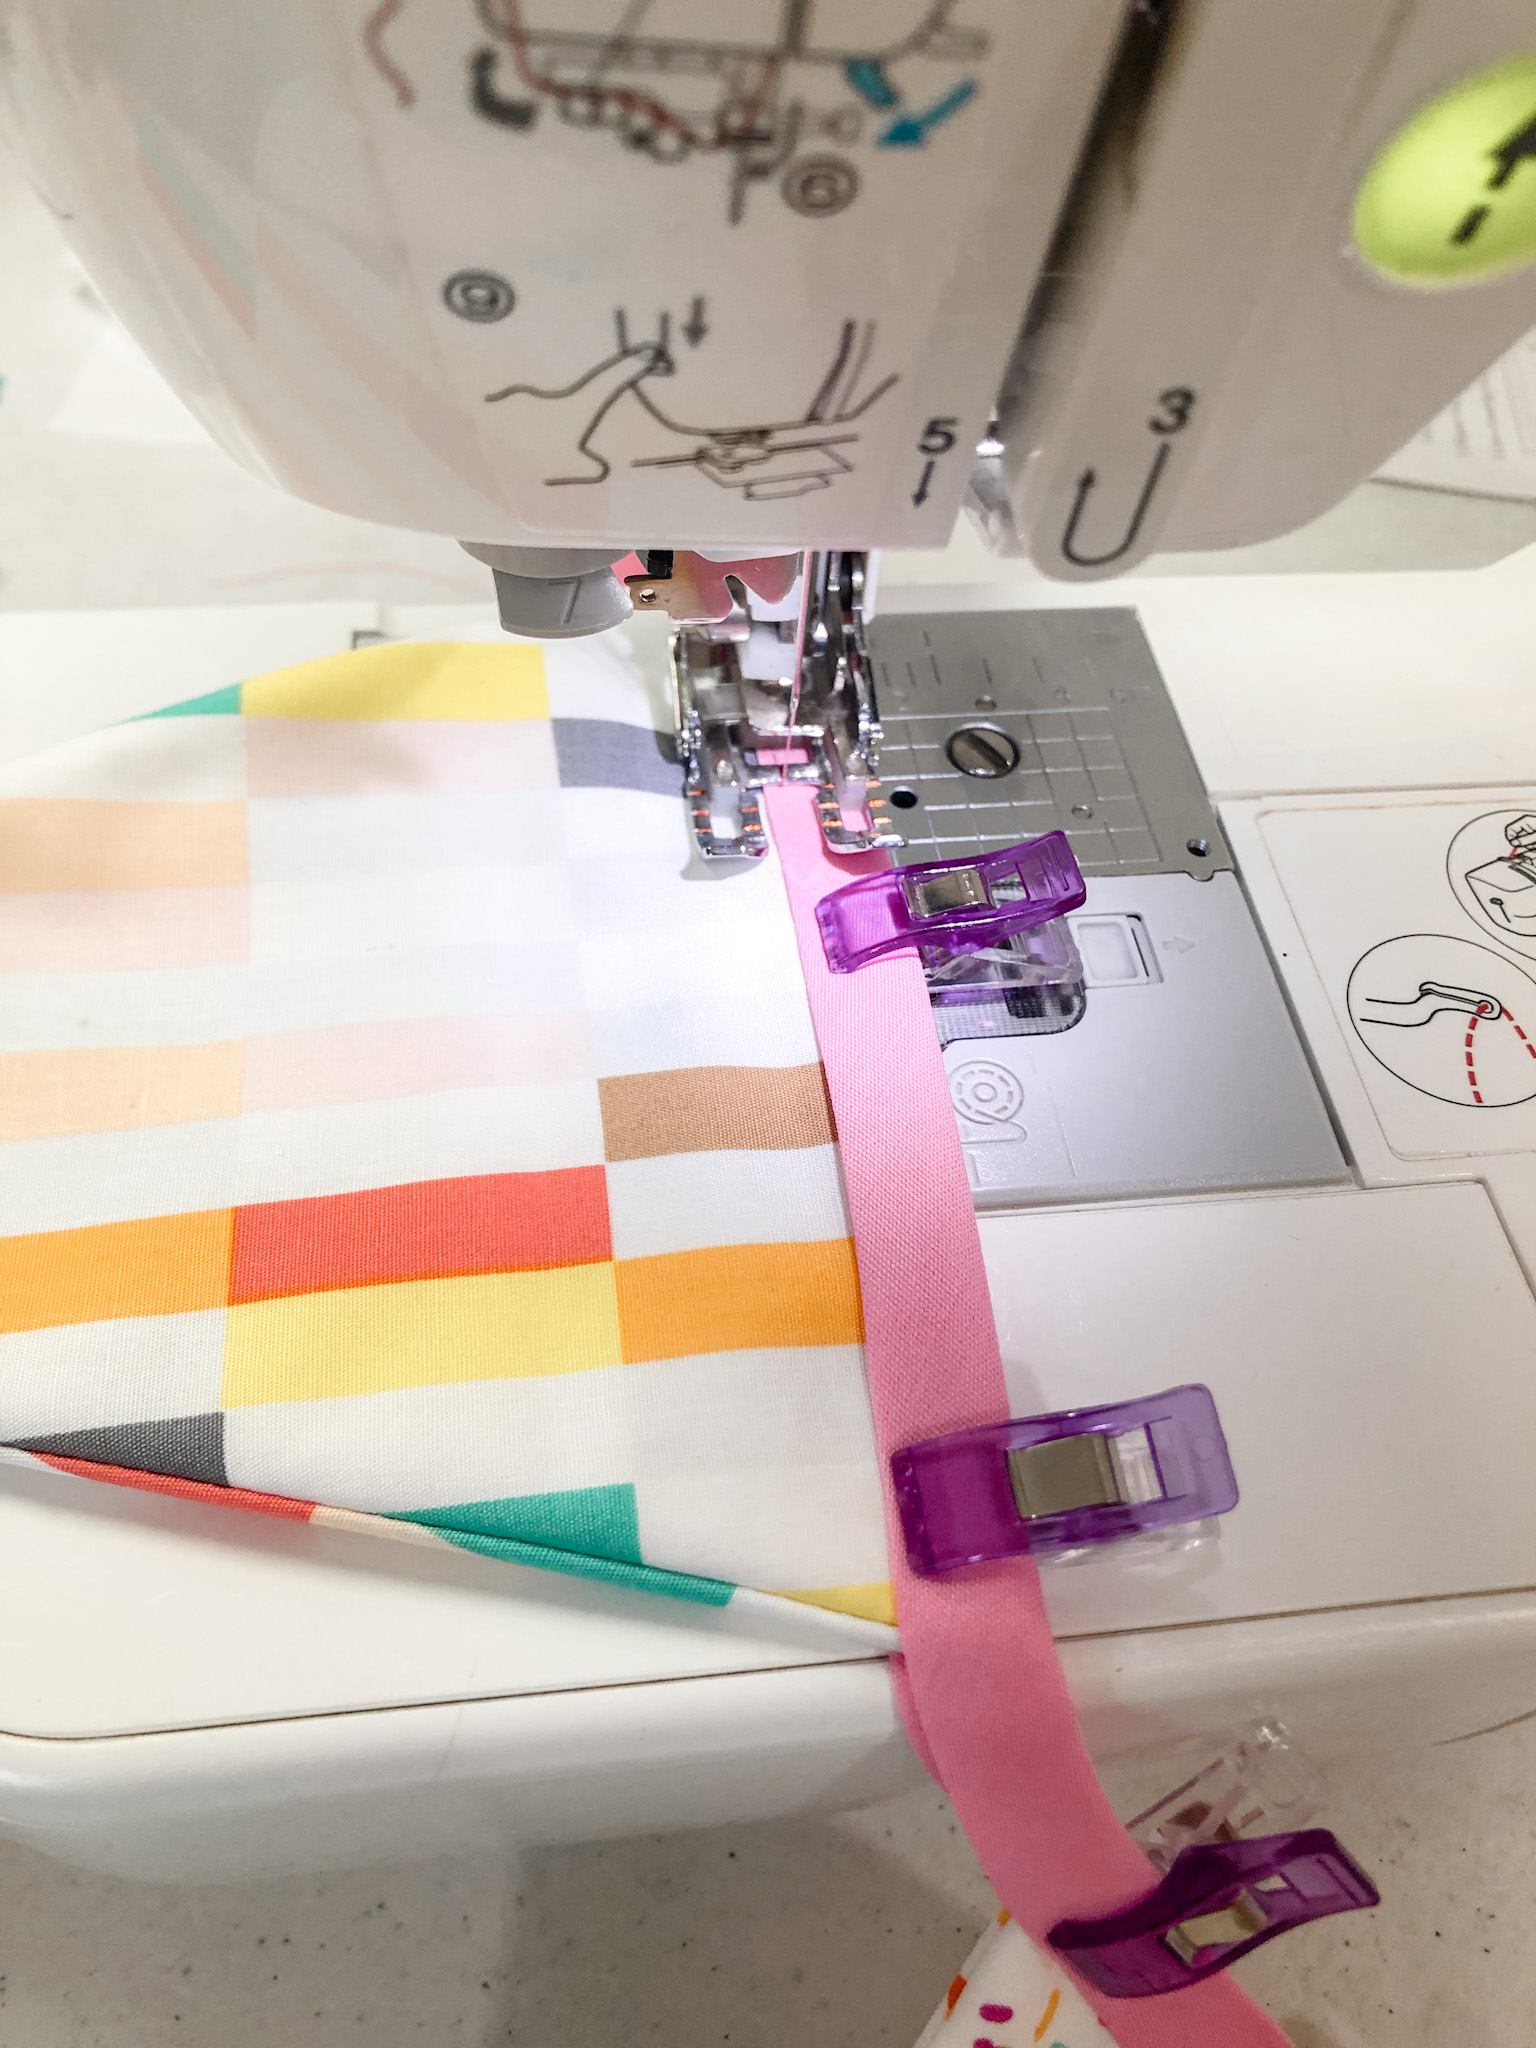
Carefully take your banner to your sewing machine. Starting at the end of your tape (the tail), stitch the bias tape closed while catching the triangles. Try to stitch as close to the bottom edge of the bias tape as you can. Continue to sew through each triangle until you reach the end.
Fold under both ends and stitch to finish off the ends.
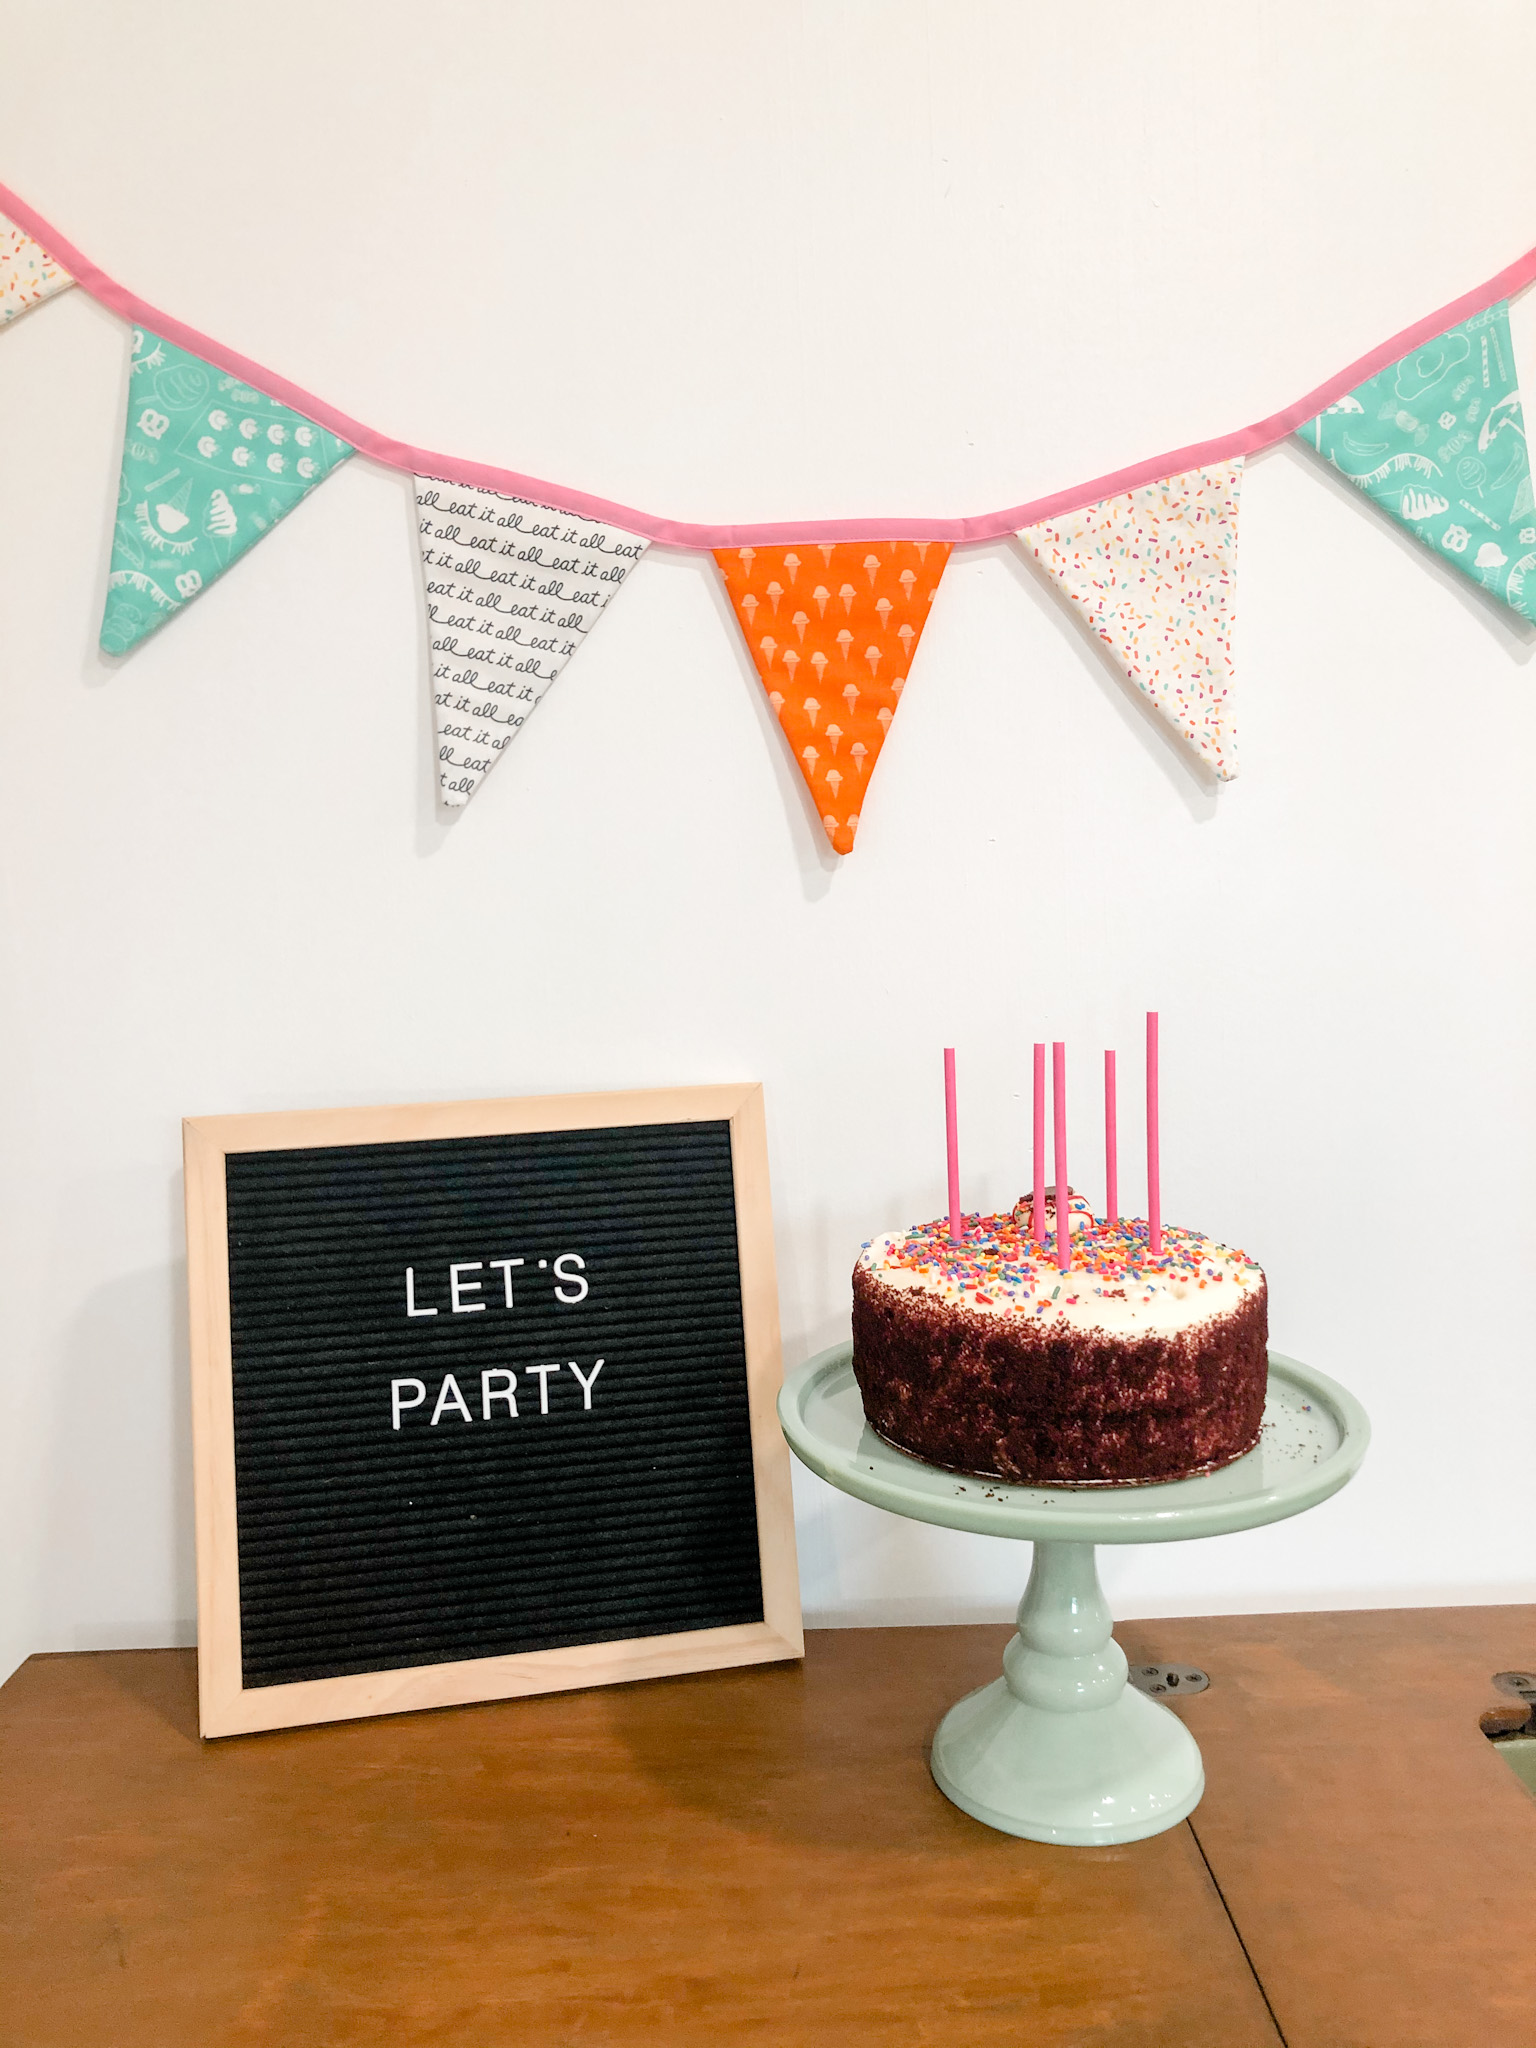
Hang as you desire and enjoy! Now, it's time to party!!
Happy Sewing,
Michelle
Recent Posts
-
Holiday Sewing: Easy Apron Tutorial (3 sizes!)
Handmade aprons are my jam! I love making an apron for any occasion. It's a great project for m …Nov 9th 2022 -
LINEN FABRIC - PERFECT FOR INTERIOR DECORS & CLOTHING
Hello Fabric-Fairies!For its softness, durability, and anti-bacterial properties, linen is loved by …May 4th 2022 -
Sewing Projects Using Fabric With Words Printed On It
Hello Fabric Lovers! As you already know, this blog is all about creating interesting sewi …Apr 2nd 2022