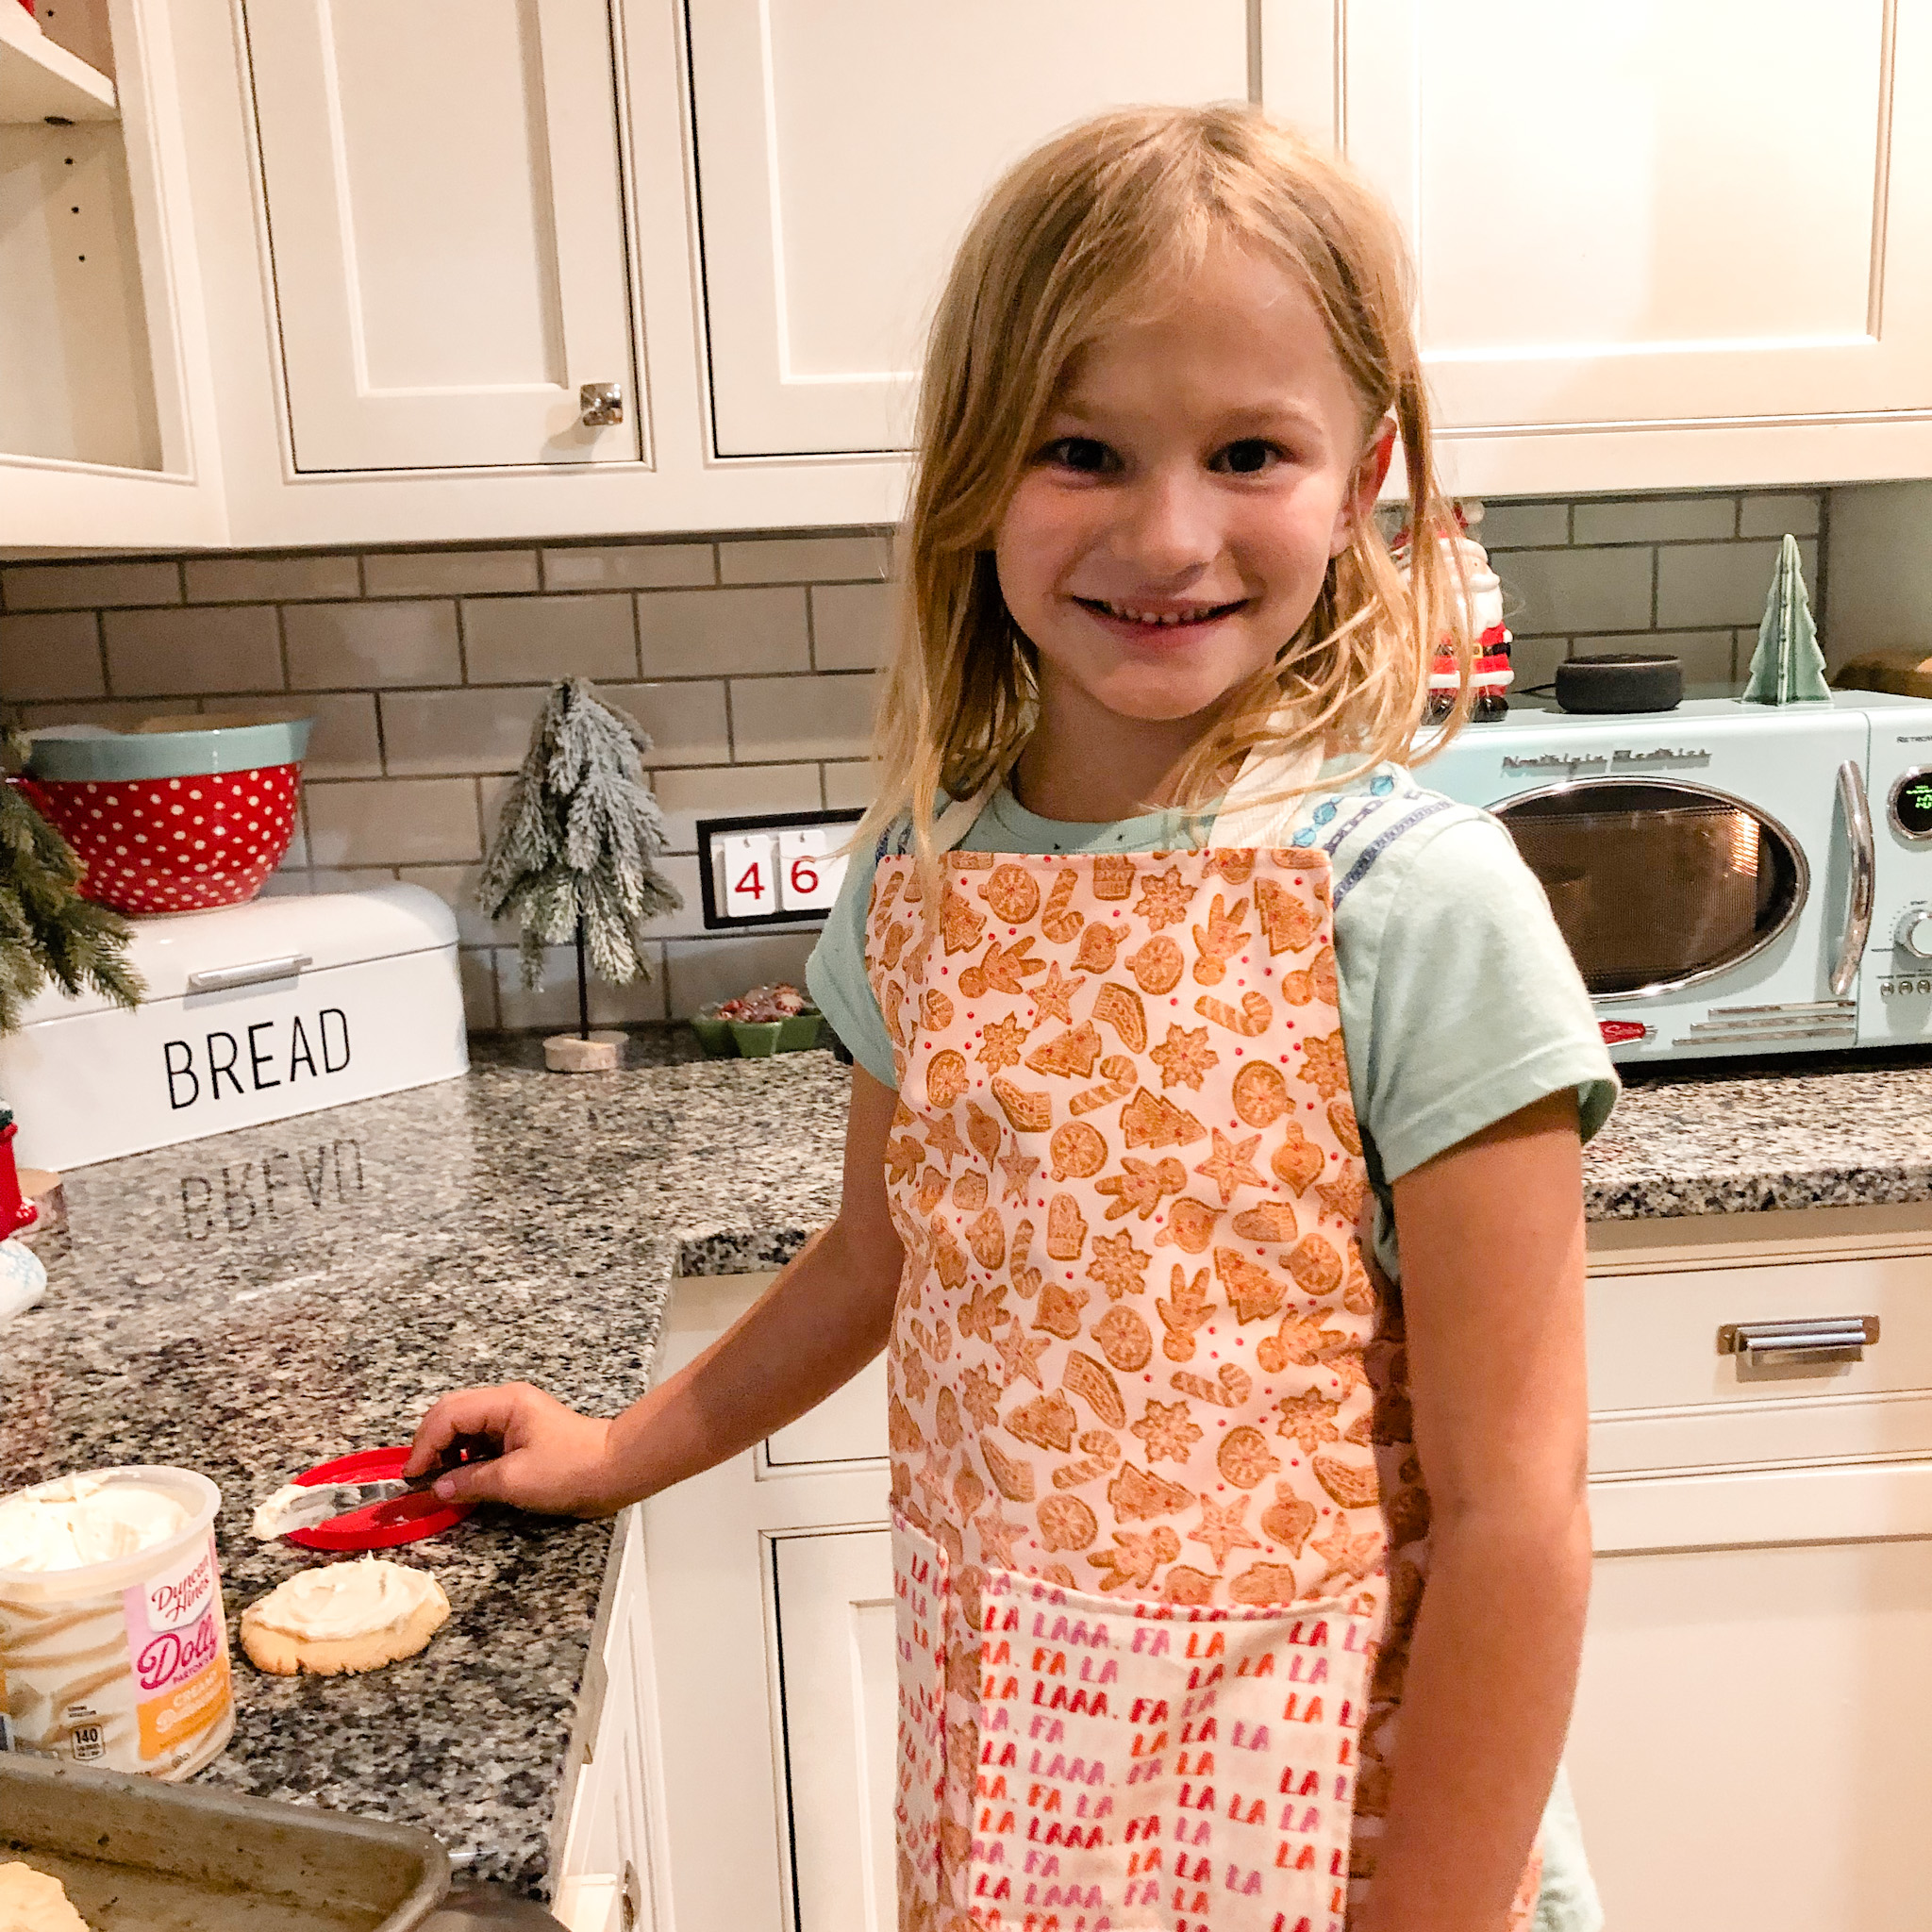
Holiday Sewing: Easy Apron Tutorial (3 sizes!)
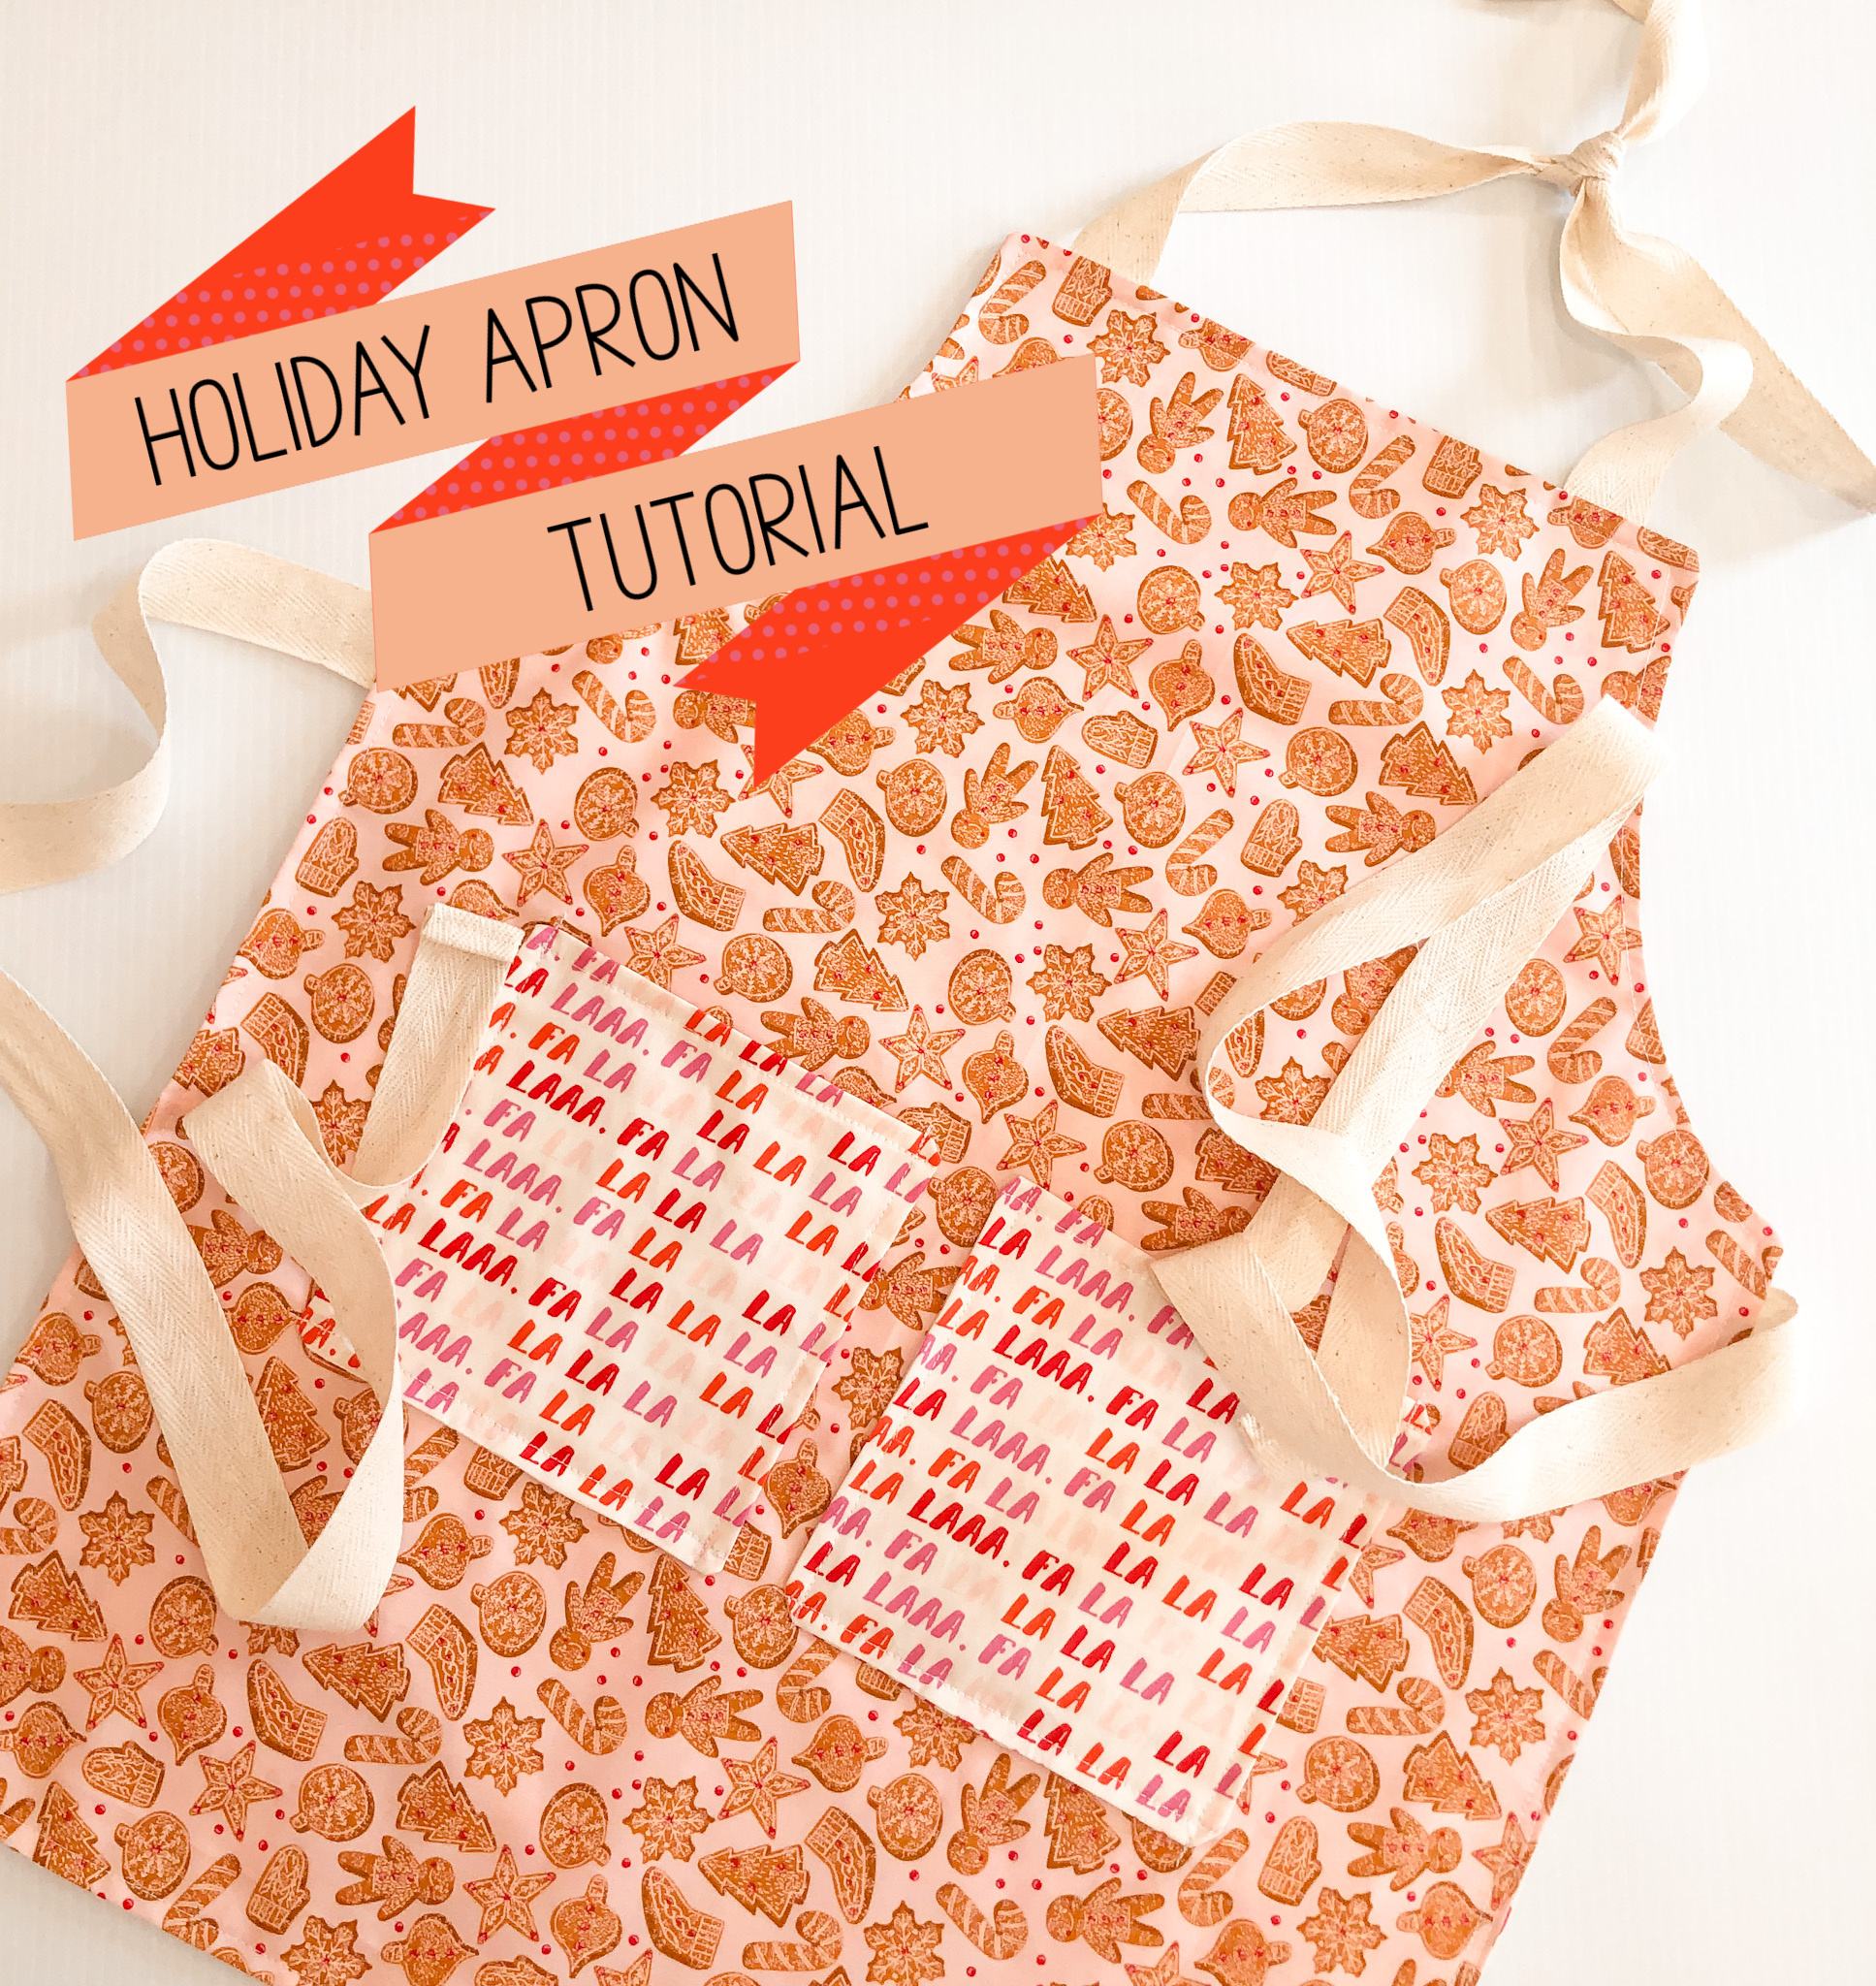
Handmade aprons are my jam! I love making an apron for any occasion.
It's a great project for many reasons:
* They are quick & simple to make
* Aprons are versatile in which they can be used for cooking or crafting
* Can be made for any age! (From toddlers to adults....anyone would love an apron!
* Perfect to show off your favorite fabrics (great for large scale prints)
Today, I'm sharing how I make these fun aprons with all the details (pattern included!) So, let's dig in and get to work.
Supplies:
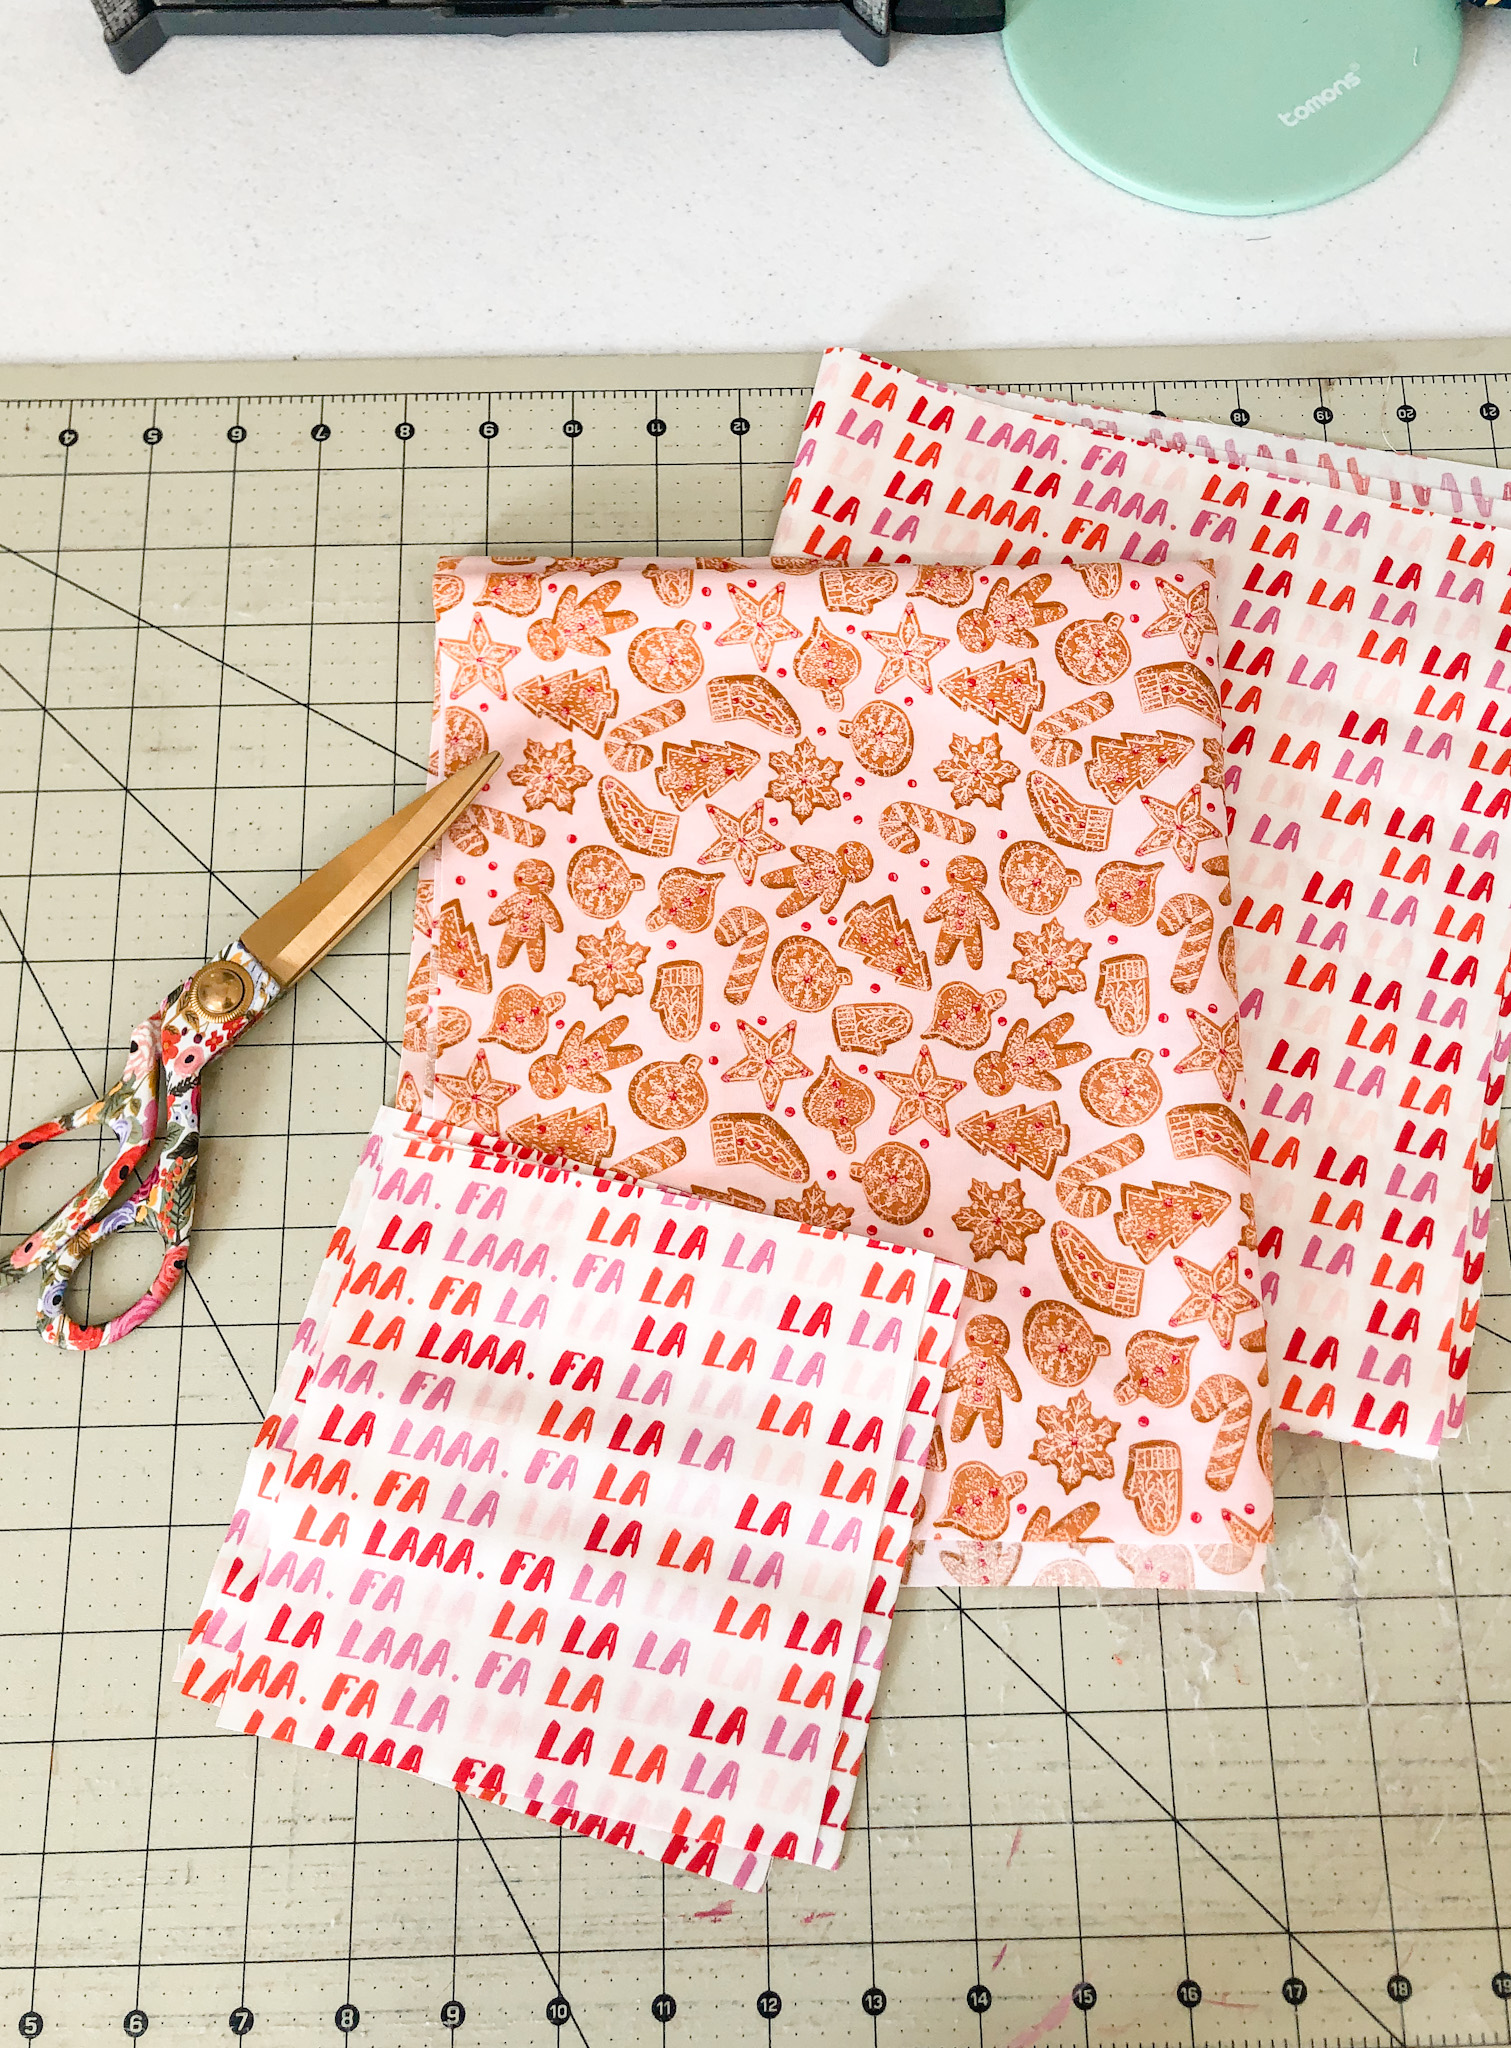
- Fabric: Main fabric, lining fabric and pocket fabric
- ¾” cotton twill tape
- Basing sewing supplies: Sewing machine, thread, scissors, rotary cutter & cutting mat, iron and pressing mat (or ironing board), and tracing pen
Note: All seam allowances are ¼ “ unless otherwise noted
STEP 1:
Let’s start by cutting your fabric and ties according to the size of the apron desired to make. Follow the guides below:
Adult Apron:
Main fabric: 24” X 27”
Lining fabric: 24” X 27”
Pocket: 4 - 7” squares
Child Apron:
Main fabric: 18” X 22”
Lining fabric: 18” X 22”
Pocket: 4 - 6” squares
Toddler Apron:
Main fabric: 14” X 17”
Lining fabric: 14” X 17”
Pocket: 4 - 5” squares
Cut your ties to the following measurements:
Adult Apron:
two ties at 40” long; two ties at 20” long
Child Apron:
two ties at 35” long; two ties at 15” long
Toddler Apron:
two ties at 25” long; two ties at 15” long
STEP 2:
Press all your fabric and cut out the included template to your desired size.
STEP 3:
Take your main fabric and fold in half lengthwise (wrong sides together). Lay your fabric down with the fold facing to the left. Using your template, line up the edges and trace the curve. Cut along the curve and unfold. Now you have your apron shape! Repeat this step with the lining fabric.
STEP 4:
Next, take 2 of your pocket squares and place them right sides together. Sew a stitch all around the edges leaving a small opening at the bottom. Turn the square right side out. Poke out corners and press with iron. Sew a stitch along the top edge of each square.
Next, place each square on the front of your apron piece and pin in place. Sew along 3 sides of each square.
STEP 5:
Take your two longest ties and place them on the sides of the front apron piece making sure the ends extend a ¼” past the edge of the fabric. Pin in place and stitch a basting stitch with an ⅛” seam allowance. Repeat on the other side. Next, take your short ties and repeat the steps above to stitch them to the top of your apron piece.
STEP 6:
Almost finished! With your apron piece right sides up, place your ties towards the center of the apron. Place your lining fabric right side down on top of your apron piece. Line up the raw edges and pin or clip all around.
STEP 7:
Sew all around the apron with a 1/4” seam allowance leaving a small opening on one side (about 3-4 inches)
Next, clip all corners and along the curves. Make sure you do not cut your stitches! *Clipping along the curves will help them lie down when you turn your apron right side out.
Now, turn your apron right side out using the small opening. Carefully poke out corners and along the seams and press the entire apron with iron.
You’re so close!! Next, top stitch around the apron using a ½” seam allowance, closing up your opening.
STEP 8:
The last and final step is to prepare the ends of your ties to prevent fraying. Take each end and roll under two times and stitch back stitching at the beginning and the end to secure. Repeat for the remaining ties. And you’re done.
Now do a little happy dance because you just made an apron!
Recent Posts
-
Holiday Sewing: Easy Apron Tutorial (3 sizes!)
Handmade aprons are my jam! I love making an apron for any occasion. It's a great project for many r …Nov 9th 2022 -
LINEN FABRIC - PERFECT FOR INTERIOR DECORS & CLOTHING
Hello Fabric-Fairies!For its softness, durability, and anti-bacterial properties, linen is loved by …May 4th 2022 -
Sewing Projects Using Fabric With Words Printed On It
Hello Fabric Lovers! As you already know, this blog is all about creating interesting sewi …Apr 2nd 2022