Easy Travel Pillowcase Tutorial - with french seams!
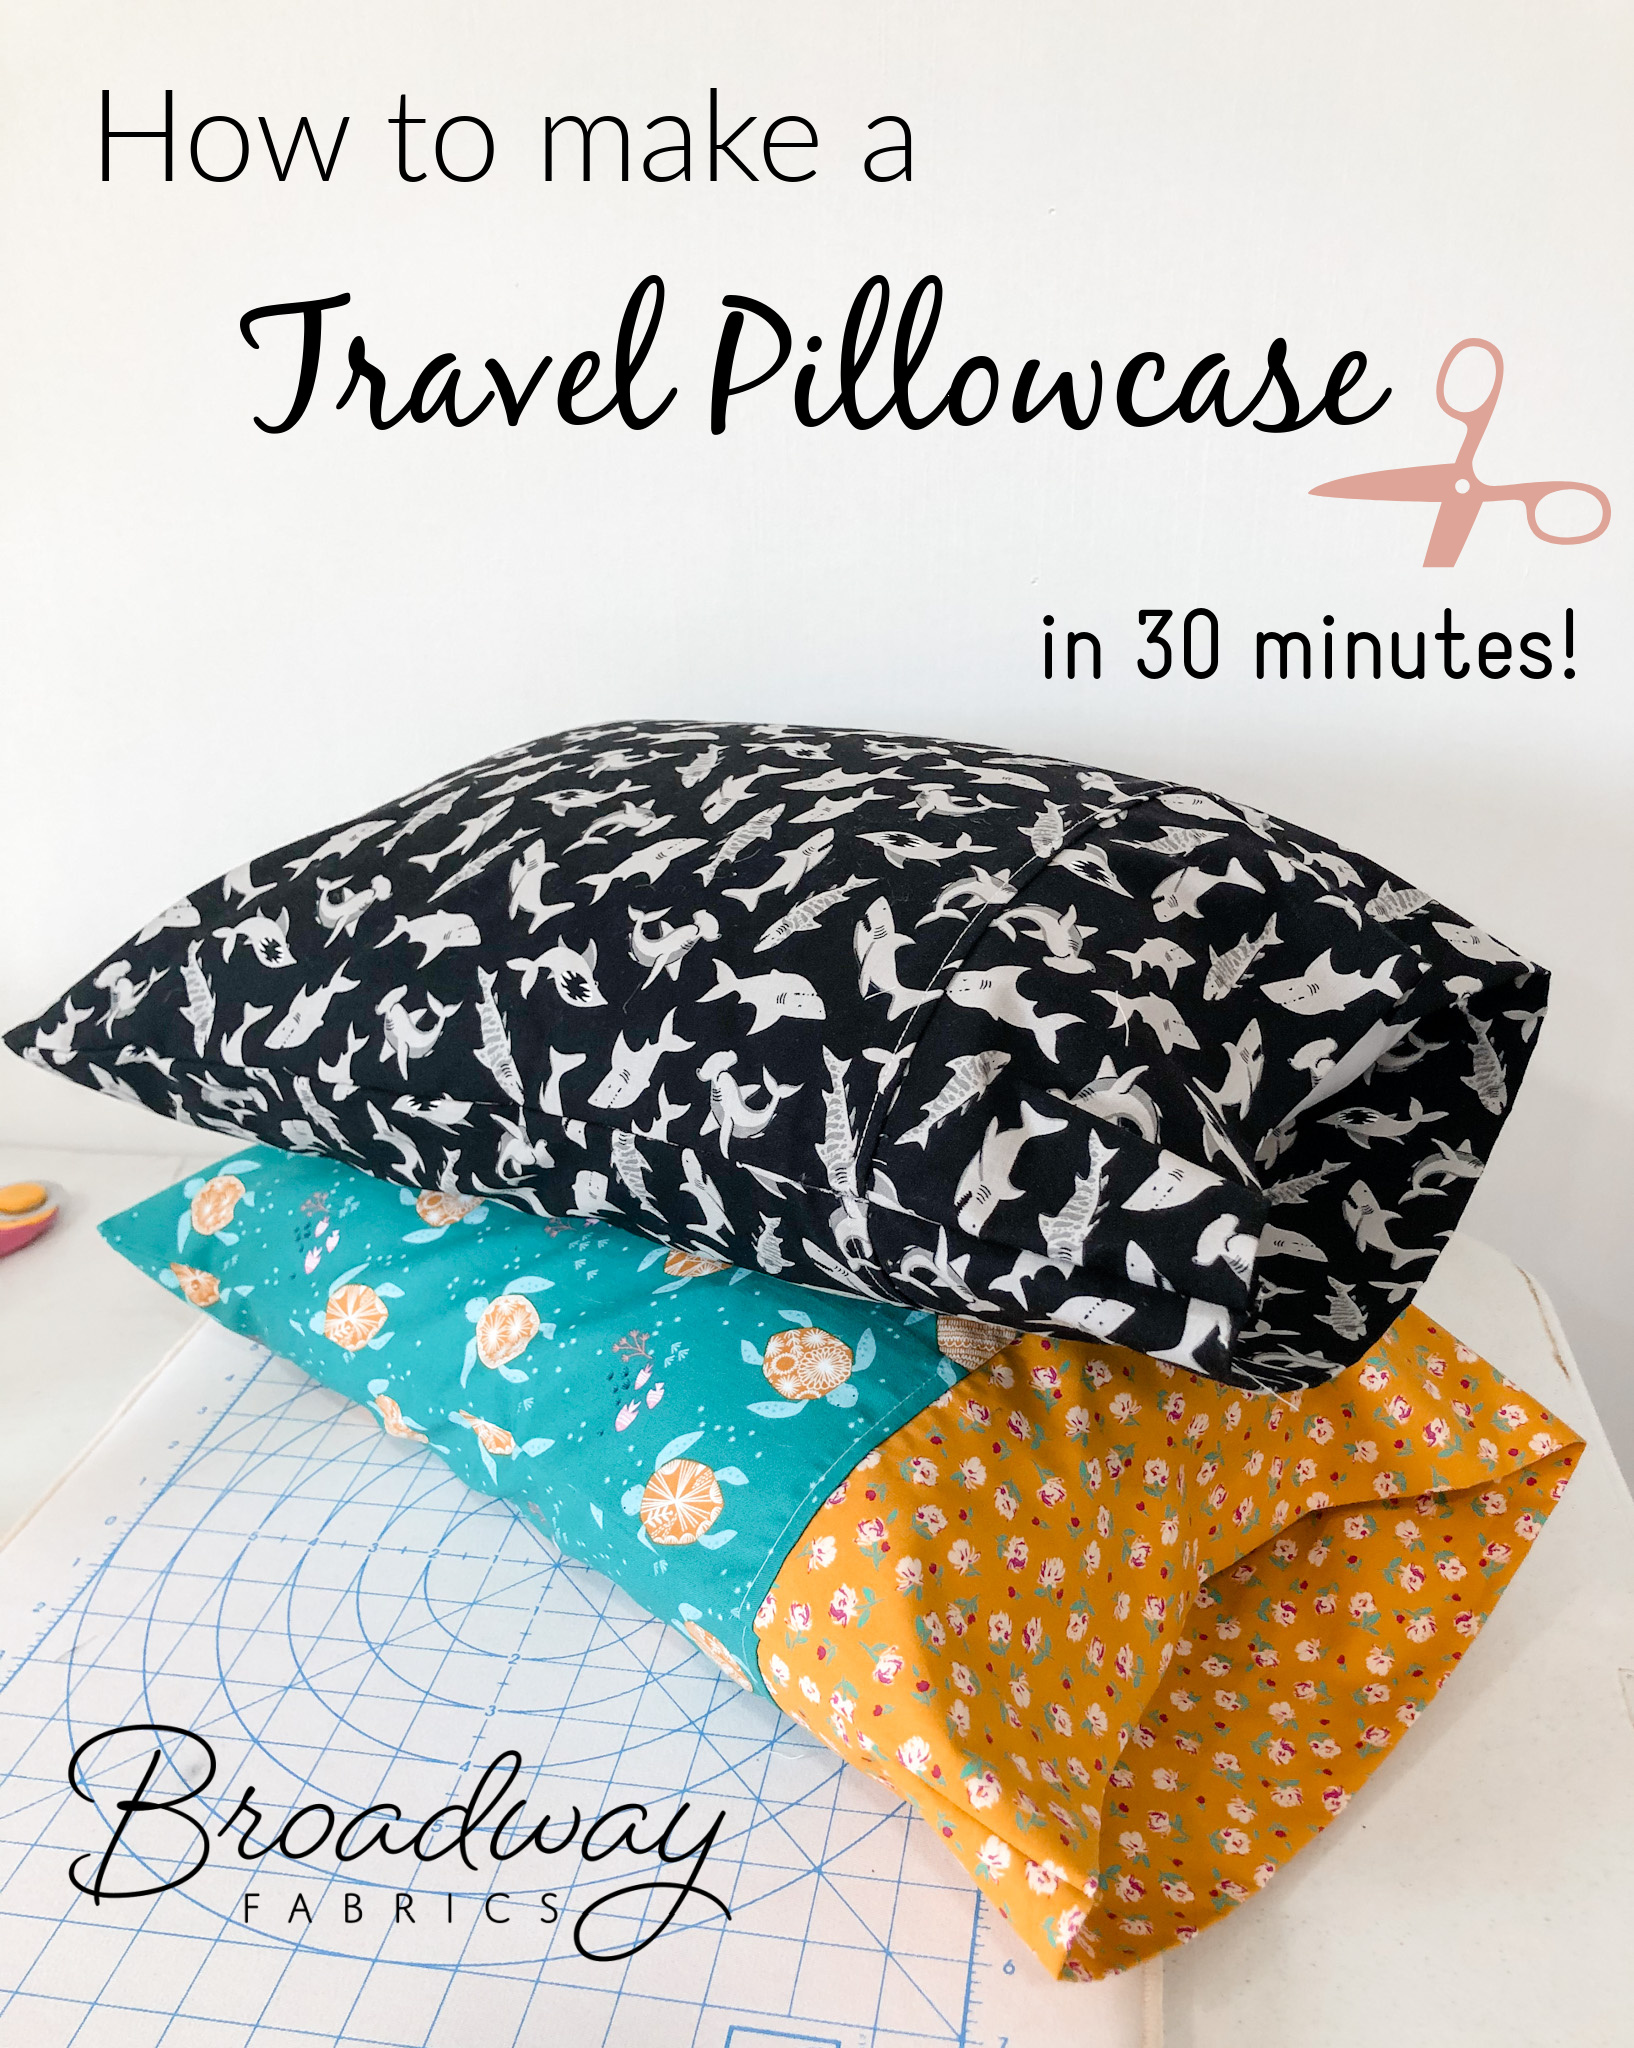
Today, we're sharing a simple and quick sewing project that's perfect for all ages. We're whipping up a travel size pillowcase (with french seams!) Read below on how to make your own travel pillow to take along on trips, sleepovers, day camps and more. Go on and grab your favorite cotton fabrics and let's get started!
We'll be making this pillowcase with french seams meaning there will be no raw edges on the inside of the pillowcase. Sewing french seams sounds complicated, but I promise it is really easy! Using french seams gives a nice, finished look to your pillowcase. You'll love it!
First, we'll gather our supplies:
* Quilting cotton fabric - For a pillowcase made with 1 print, you'll need 3/4 yard. For a pillowcase with 2 prints, you'll need 1/2 yard for the main fabric and 1/2 yard (or less) for the cuff fabric
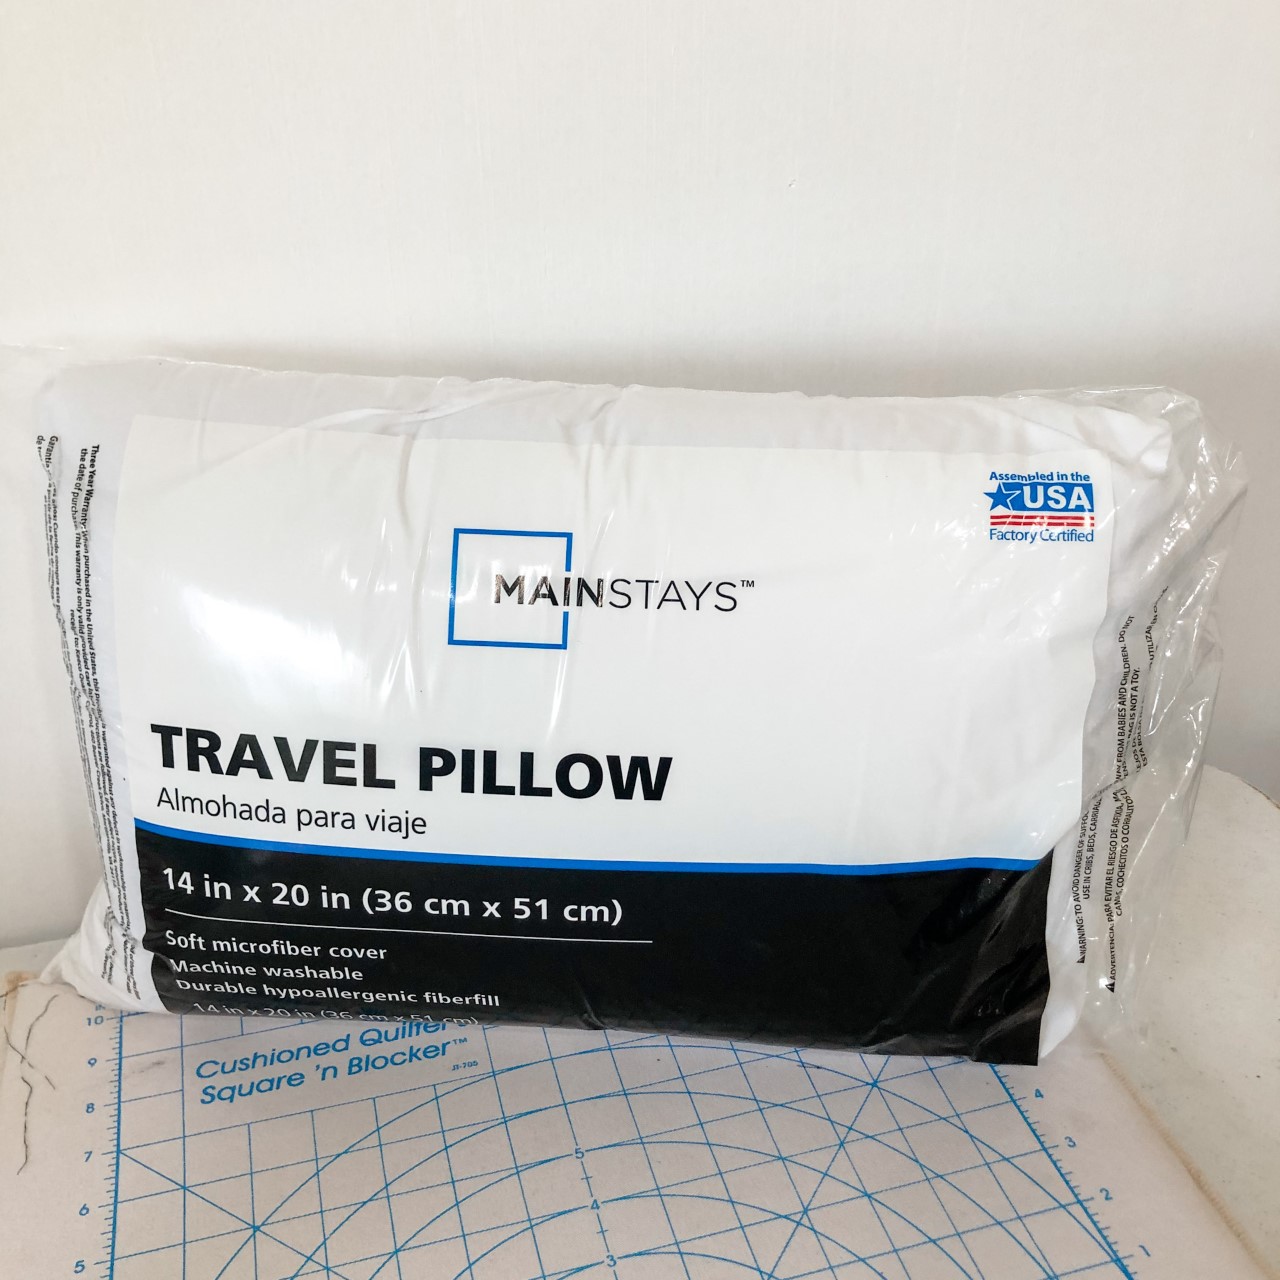
* Travel pillow form - size 14" X 20"
* Basic sewing supplies: sewing machine, thread, scissors, rotary cutter & cutting mat, iron and pressing mat, pins or sewing clips
FABRIC MEASUREMENTS:
Cut your main body fabric: 18" X 30 1/2"
Cut your cuff fabric: 10 1/2" X 30 1/2"
STEPS TO COMPLETE:
Fold your cuff fabric wrong sides together lengthwise and press with iron
*Tip: When pressing fabric, I love to use Best Press Spray Starch. It smells so good!
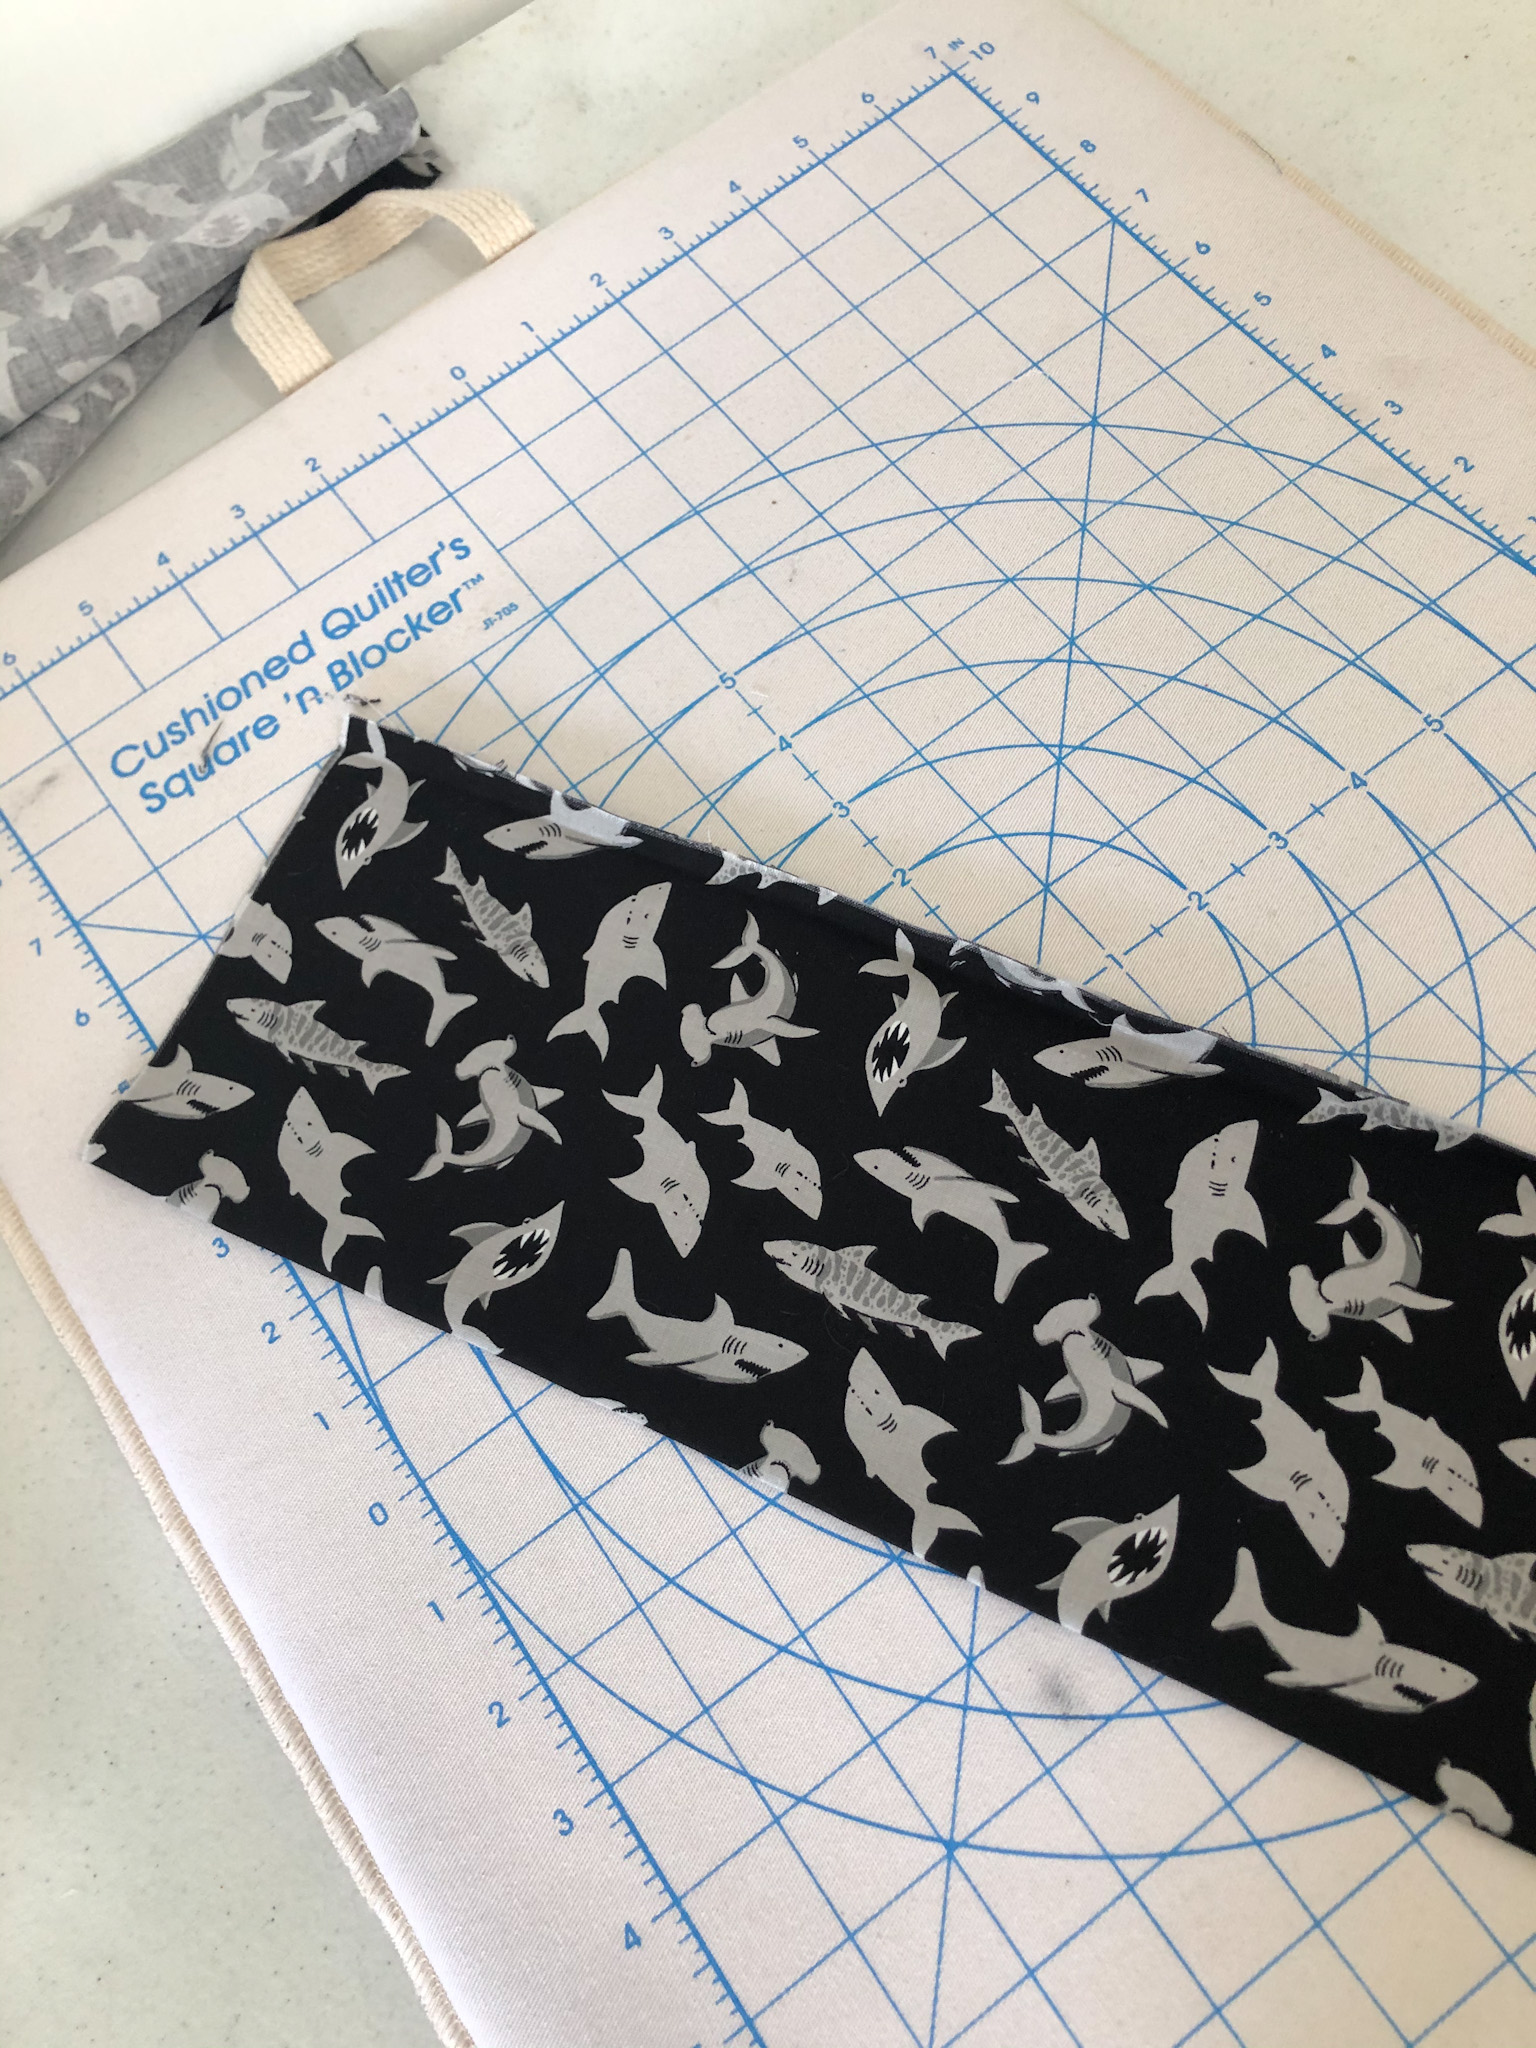
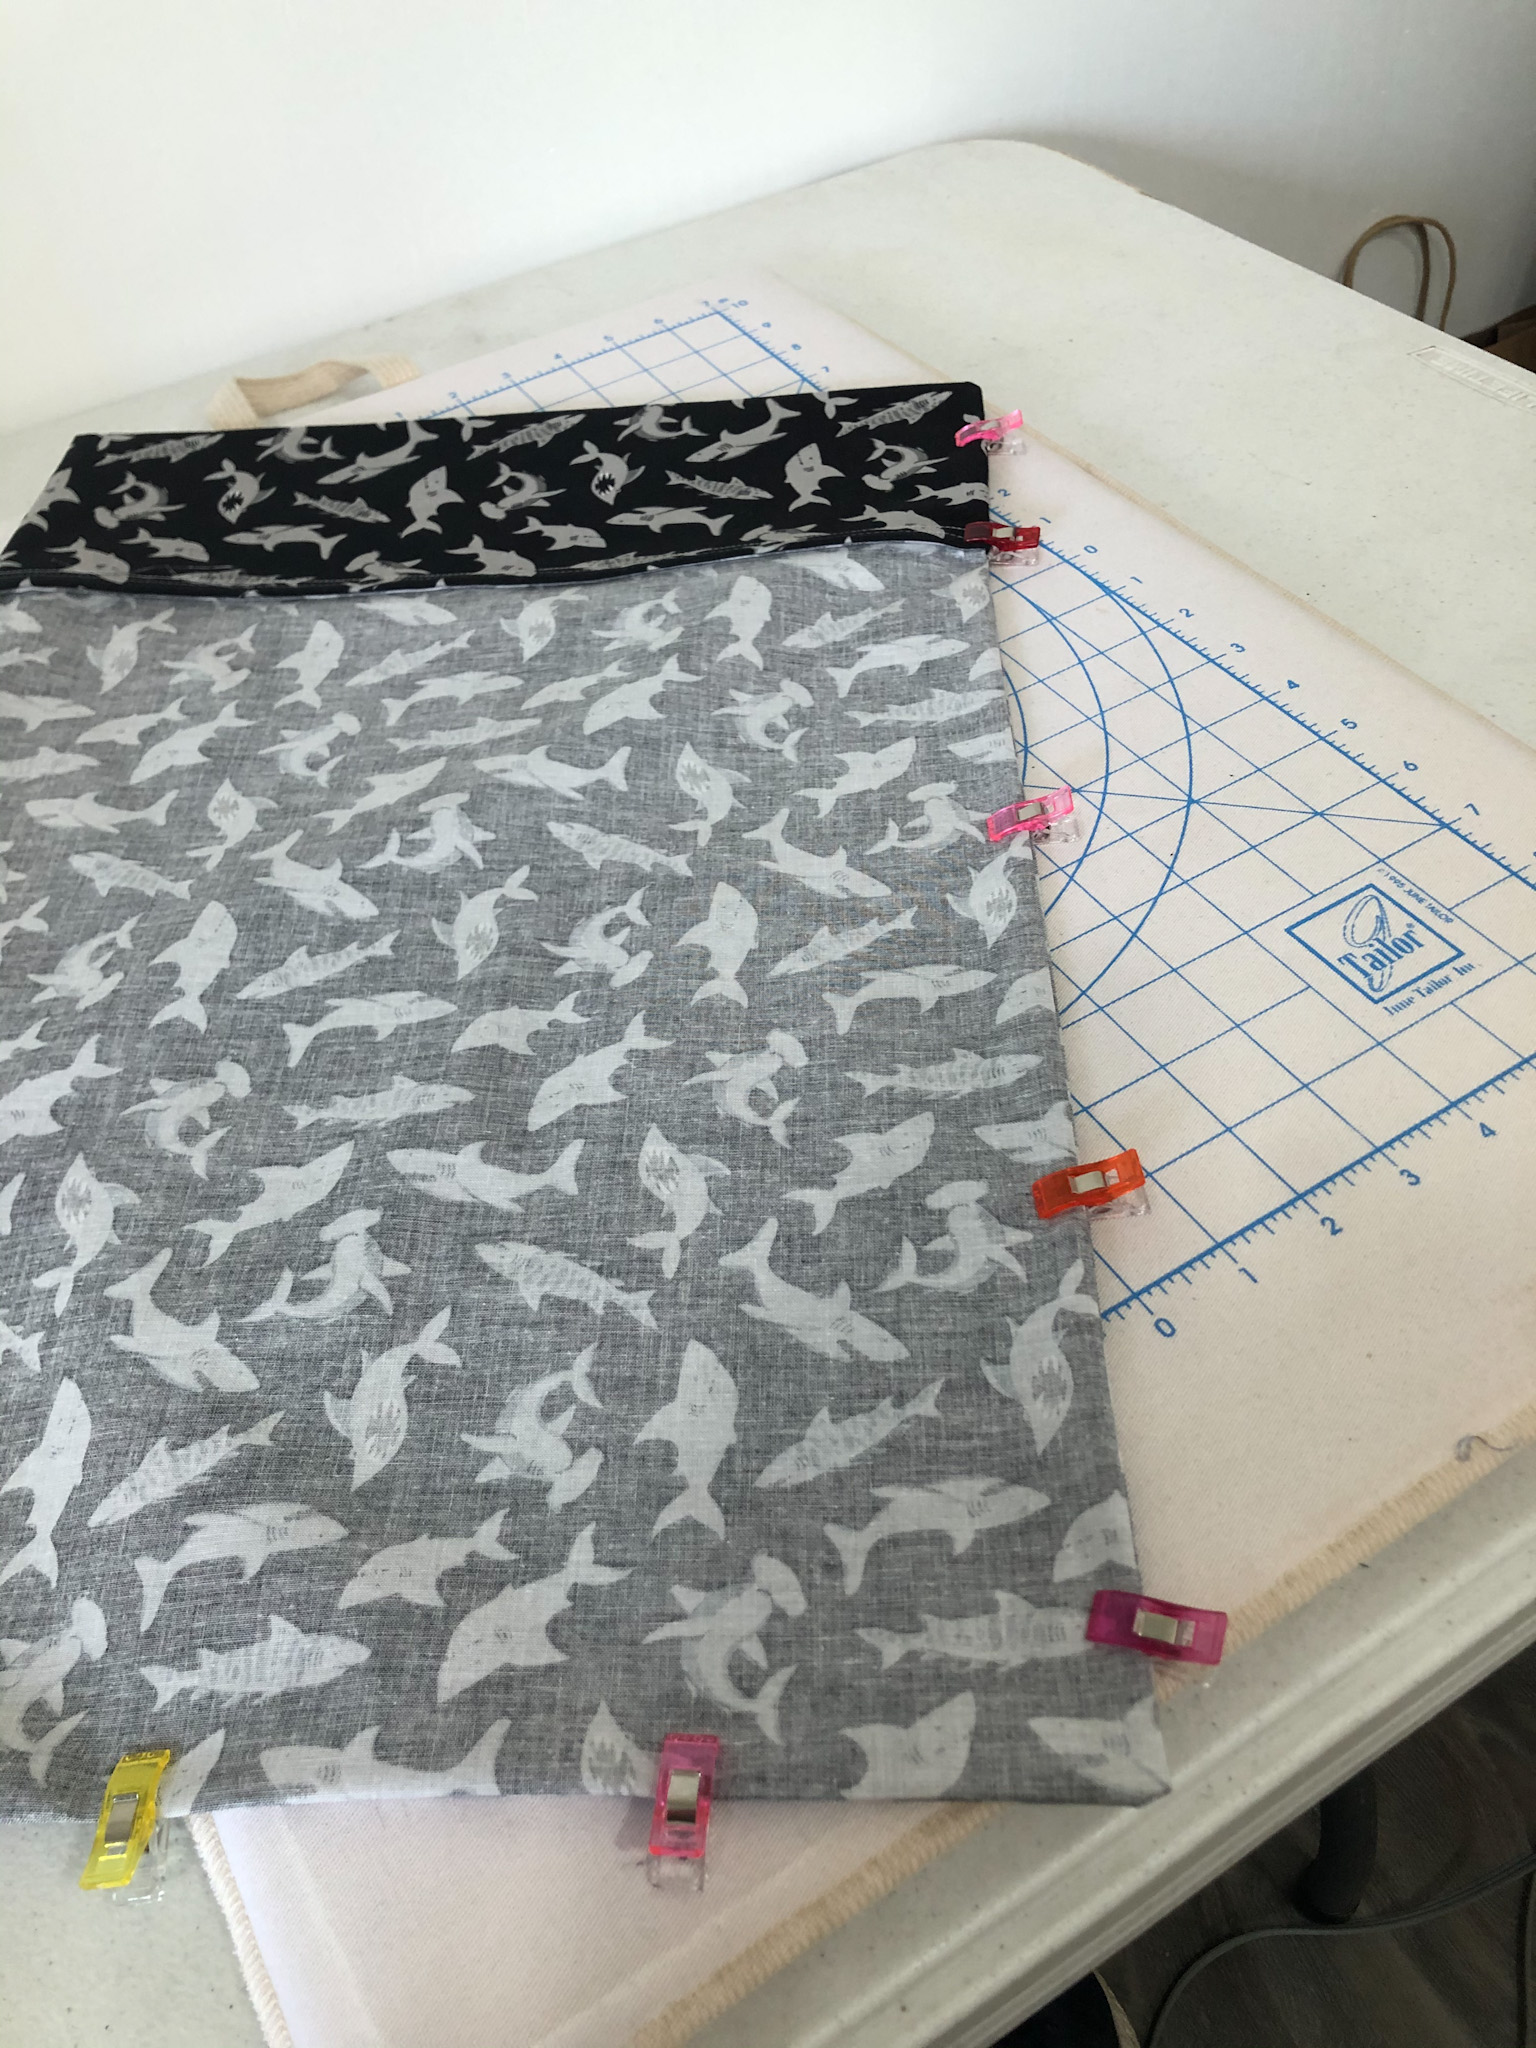
Next, with your main fabric wrong side up, place your folded cuff fabric on top matching up the raw edges and clip to secure.
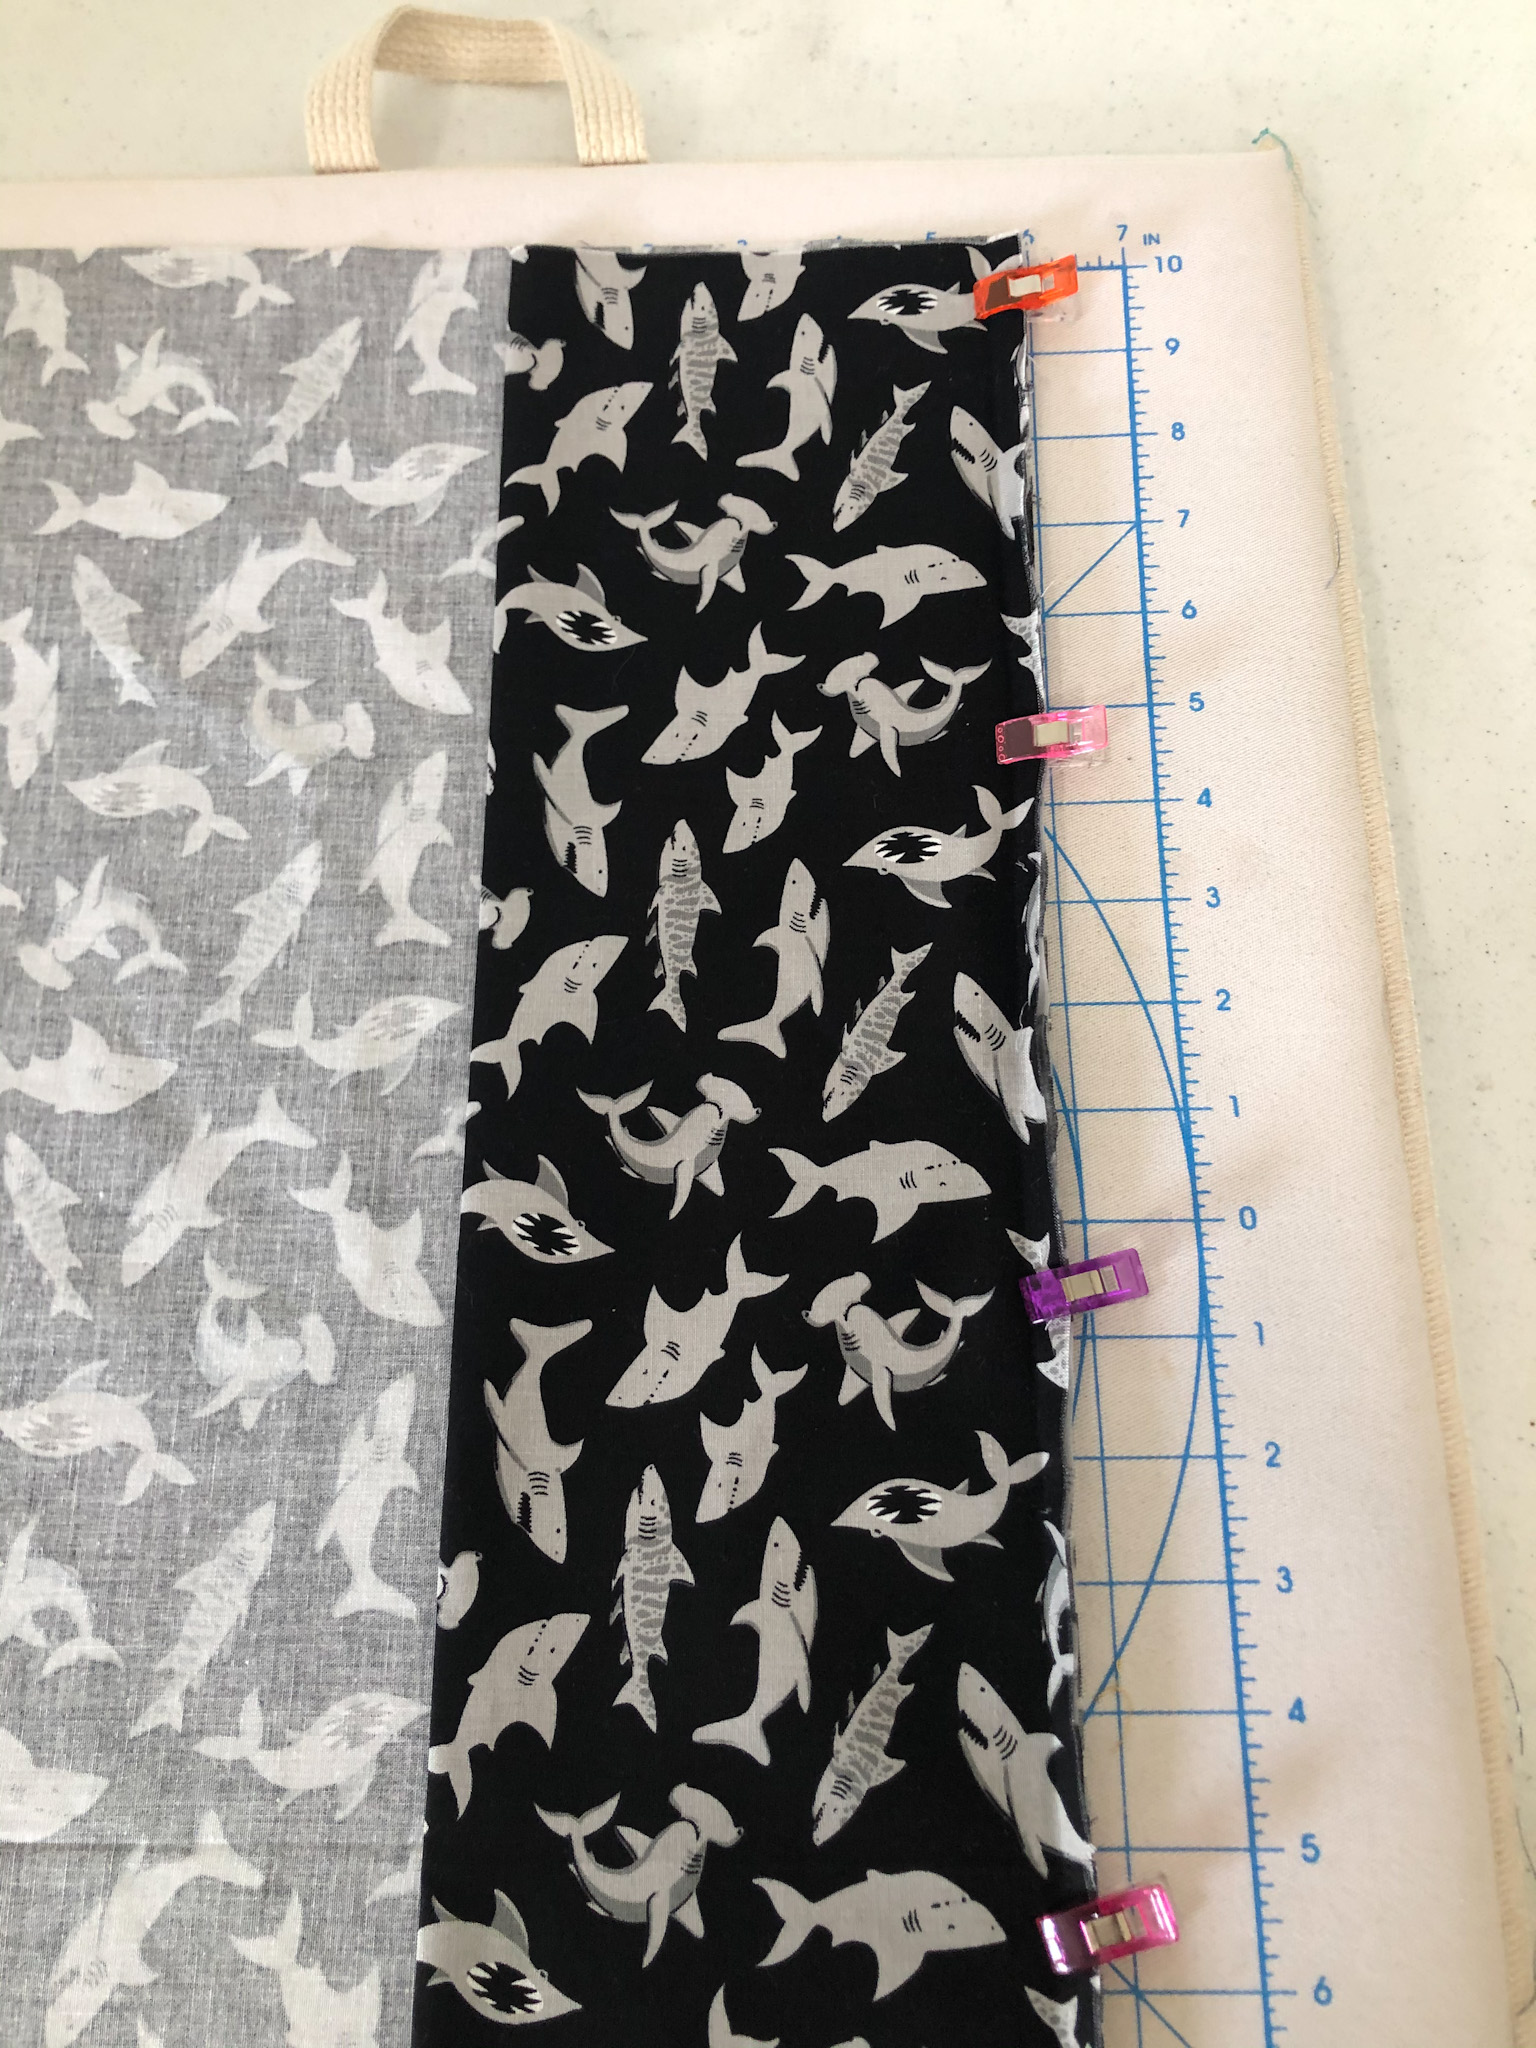
Sew the 2 layers together using a 1/4" seam allowance removing the clips as you go.

Next, fold the cuff fabric over and press the seam with your iron or finger press. Place a clip along the edge to secure the seam. At this point, the wrong side of the main fabric should still be facing up. Don't panic, this is correct!
We are now going to sew over this seam. We will use a 1/2" seam allowance this time, so we can catch the inside seam we have just sewn.
Now, flip the cuff over and press one more time with your iron. You can now see we have a finished seam on the wrong side of the fabric as well as the right side. Next, top stitch a single stitch to the left of this seam with a 1/4" seam allowance.
Tip: You can use a fun, contrasting color on this part!
We now have the pillowcase cuff assembled! The next step is to sew together the pillowcase. We will basically repeat our steps to create french seams on the inside of the pillowcase.
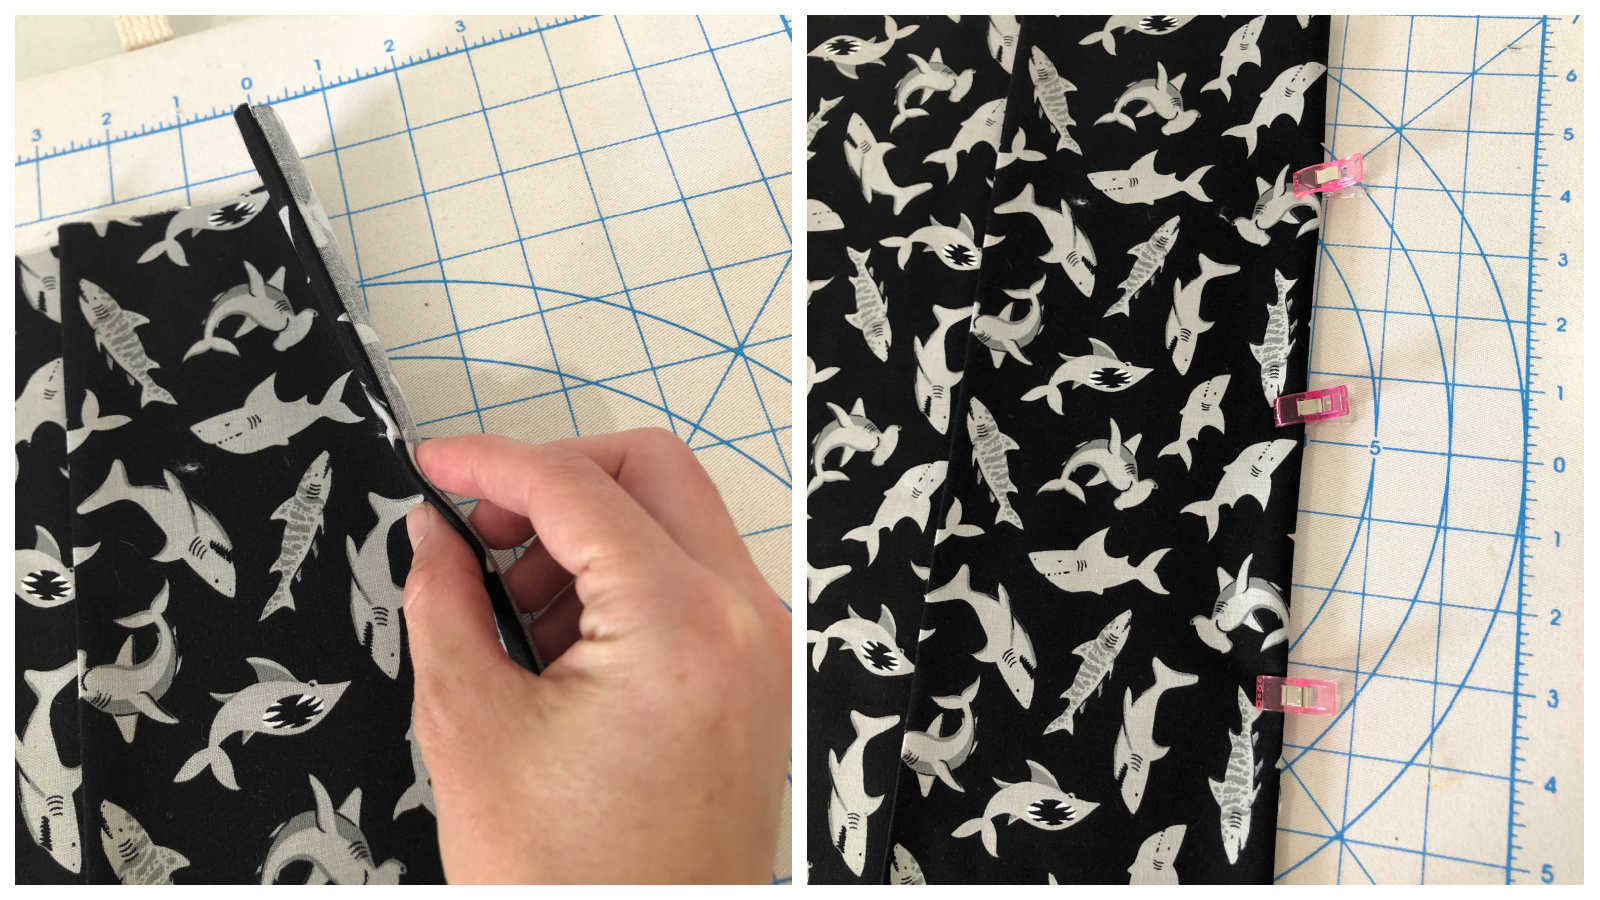
Fold your fabric in half wrong sides together matching up all the sides and raw edges. Pin or clip in place to secure.
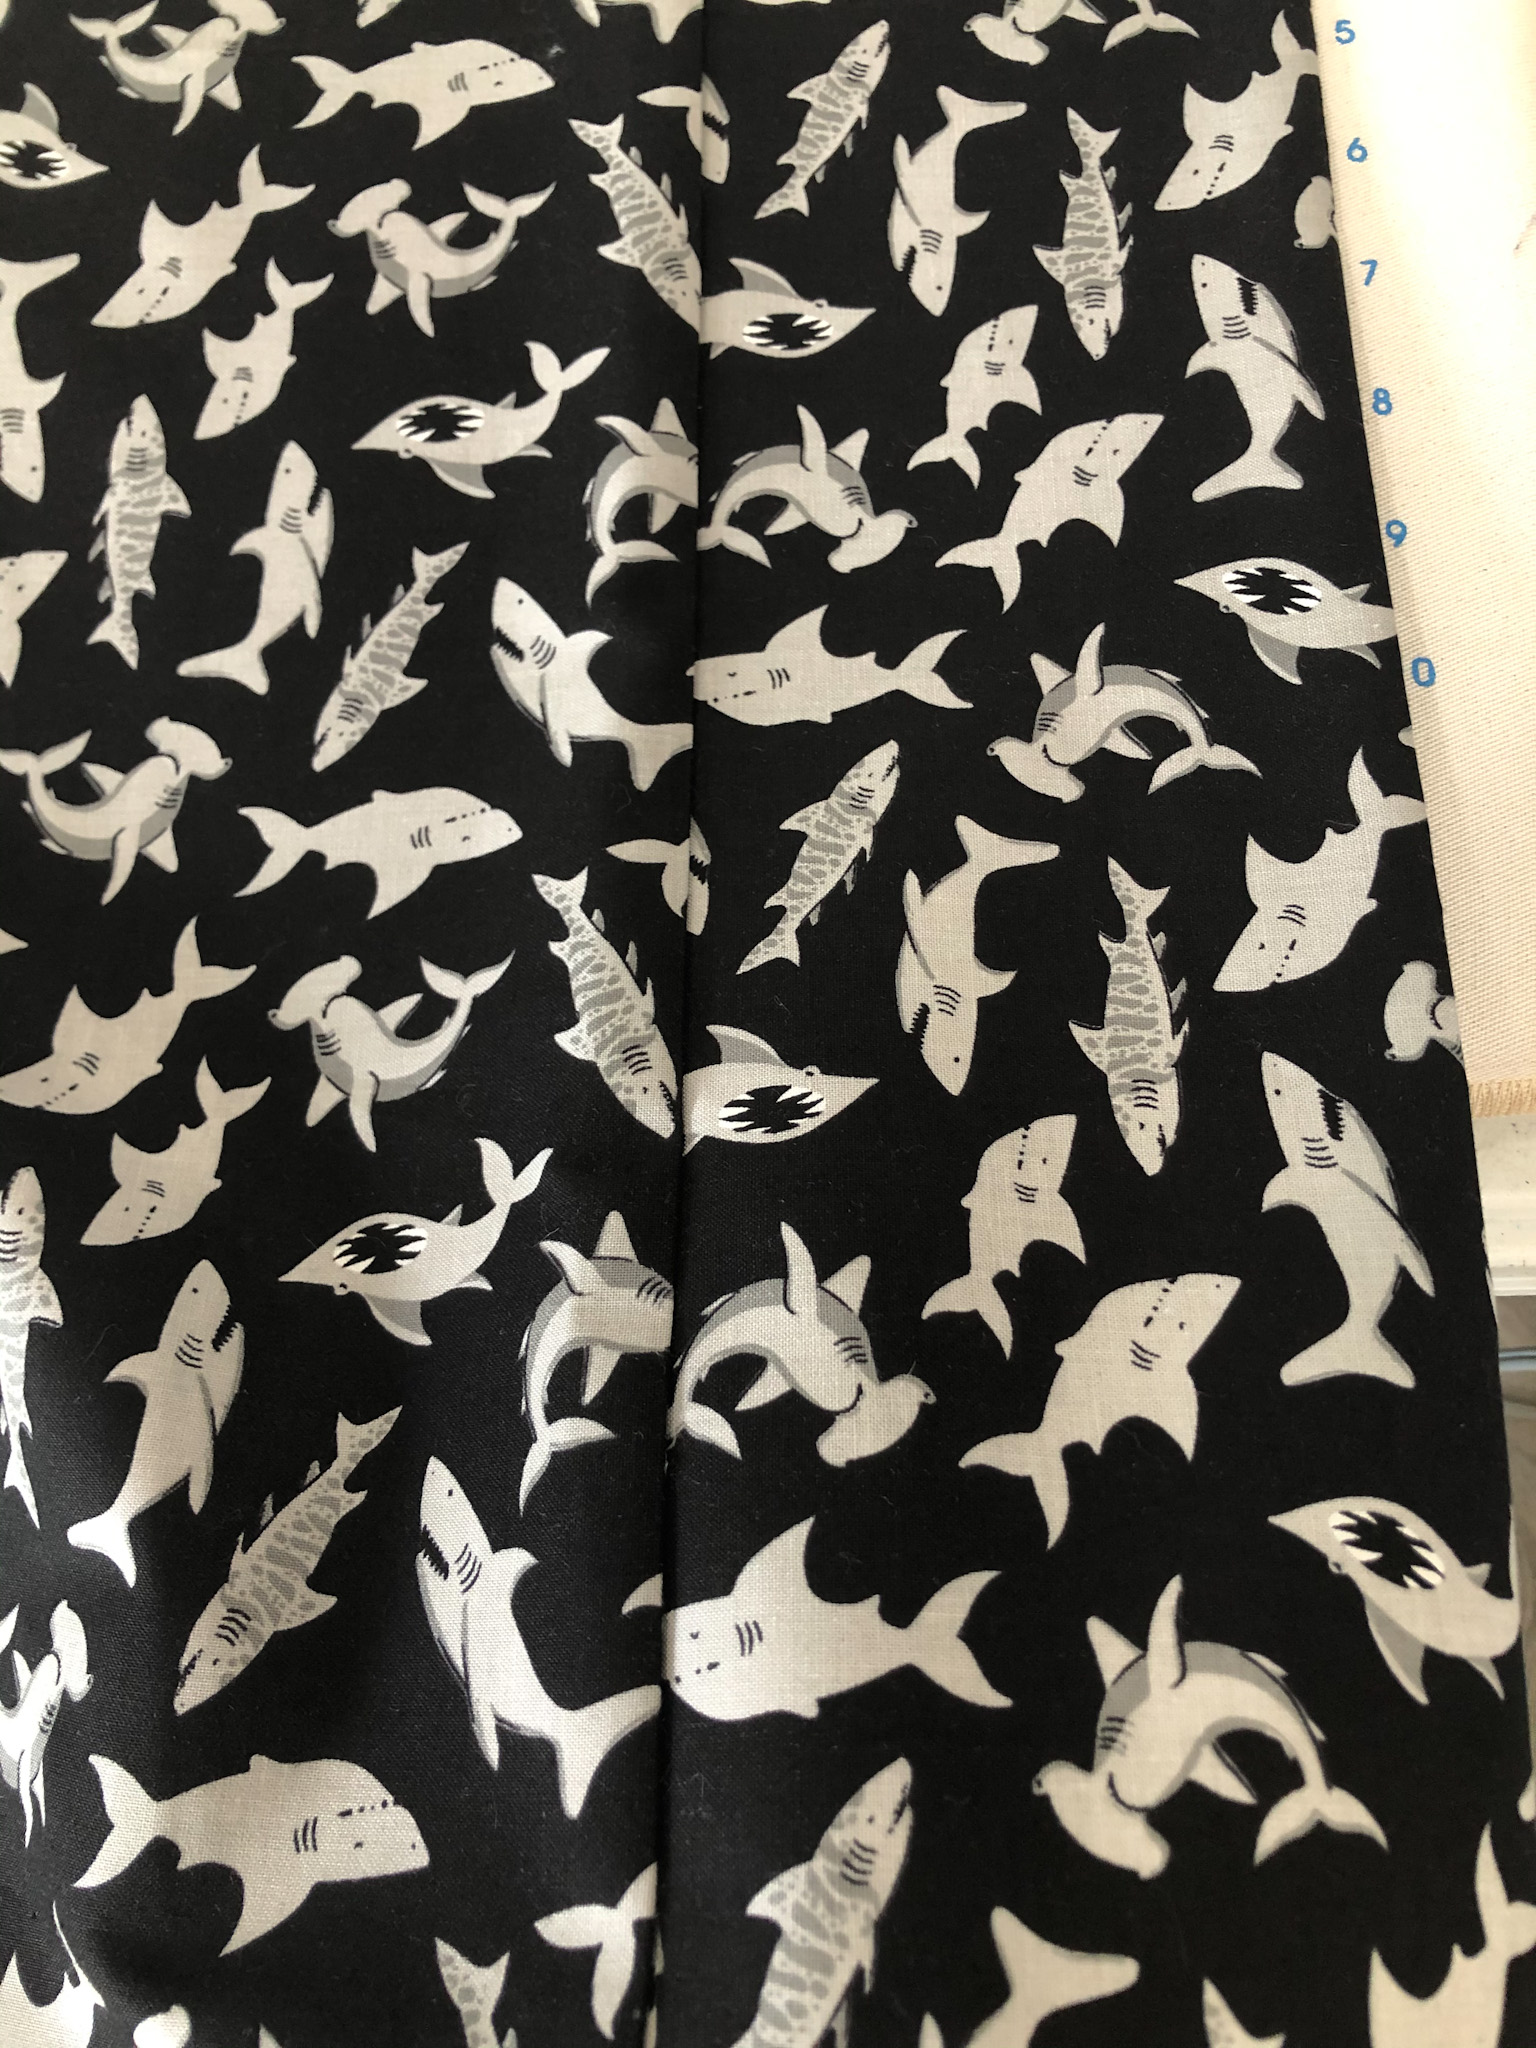
Sew along the 2 clipped sides (One side is folded, so no need to sew and another is the opening). Sew with a 1/4" seam allowance. Once finished, turned your pillowcase wrong side out and press seams using fingers or your iron, repeating the process from above while making the cuff. Poke out corners and secure seams with clips.
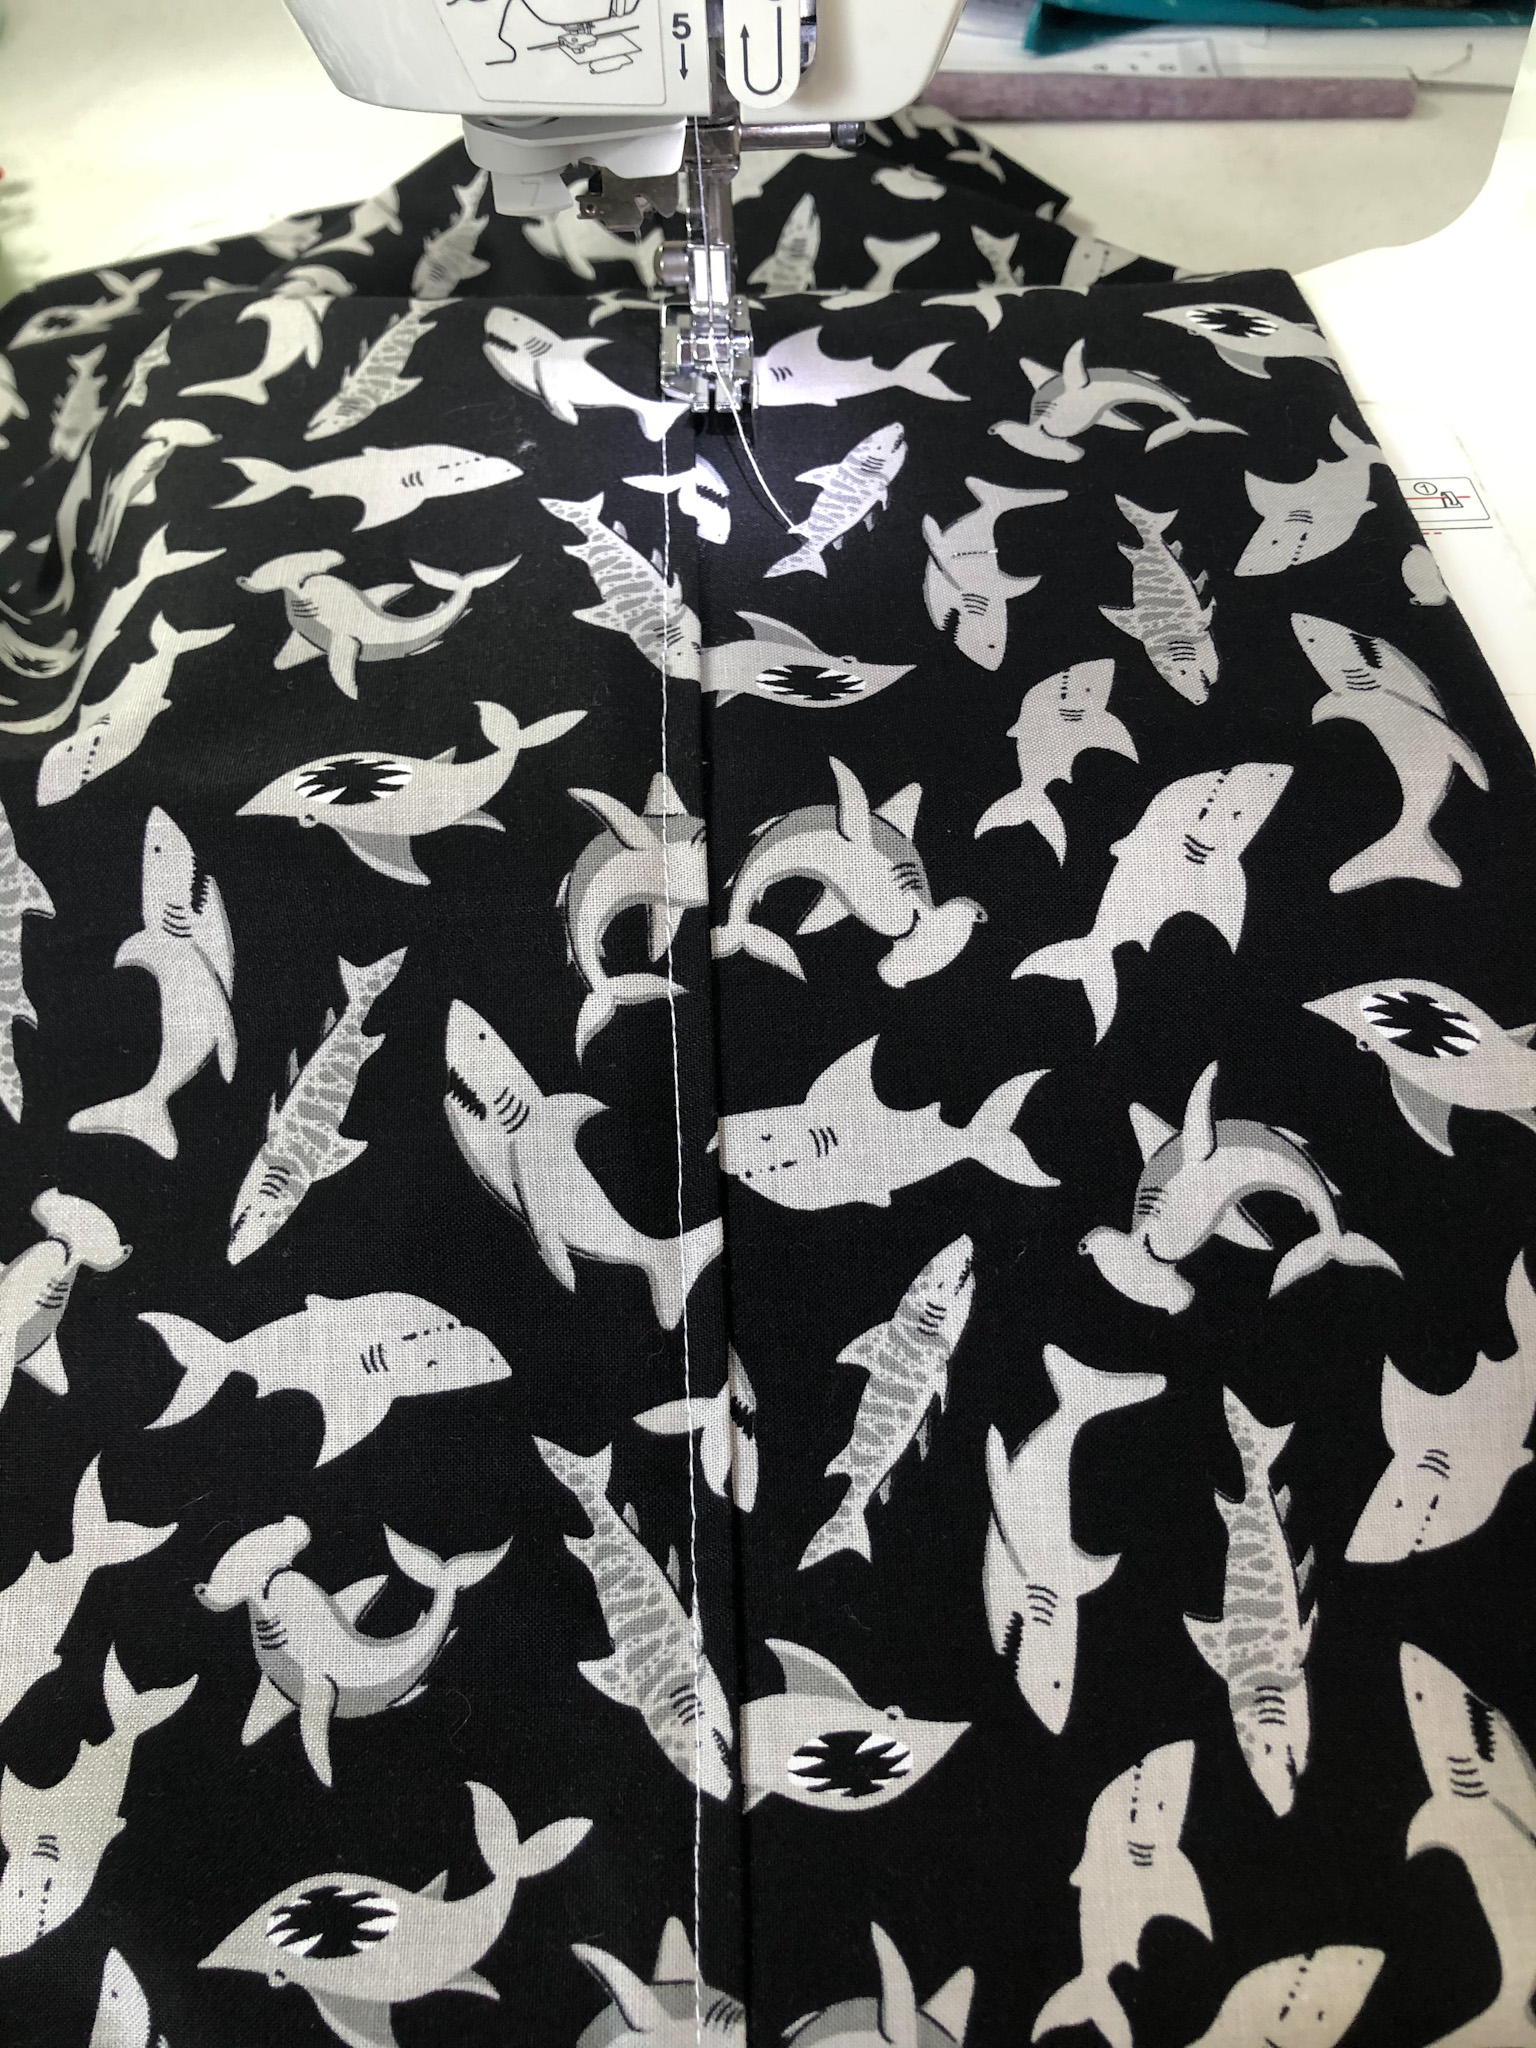
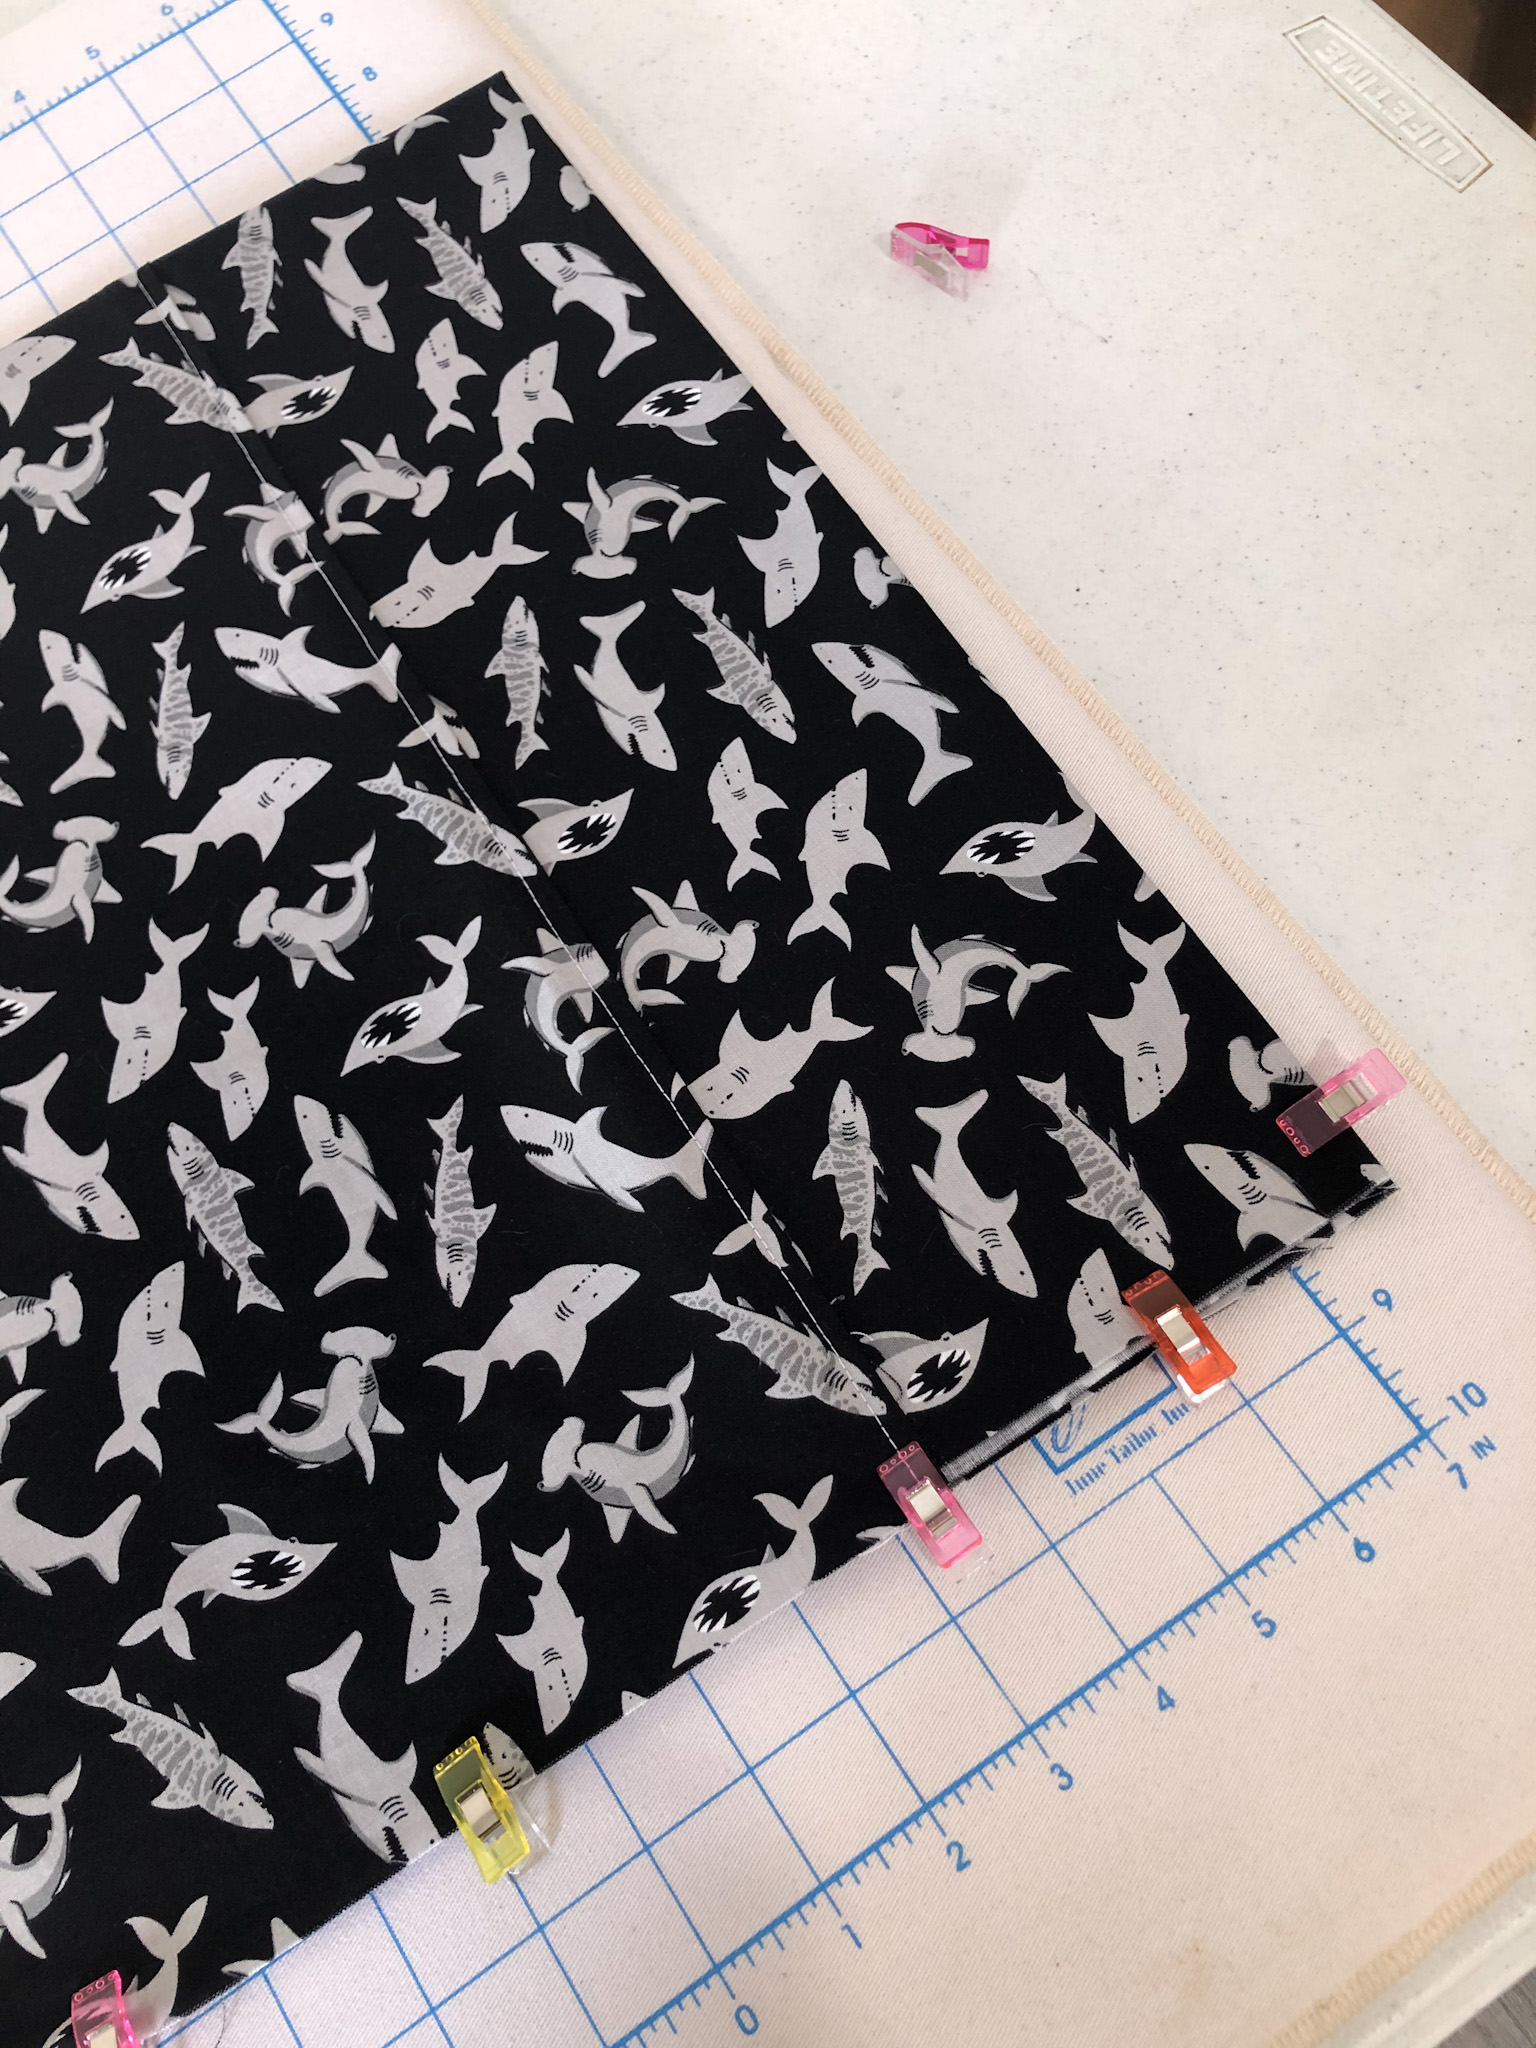
Next, we will make our final stitches! Sew along the 2 sides as before using a 1/2" seam allowance.

Turn your pillowcase right side out and you are done! Poke out corners and press well with your iron. Place pillowcase in your pillow form and give yourself a pat on the back!
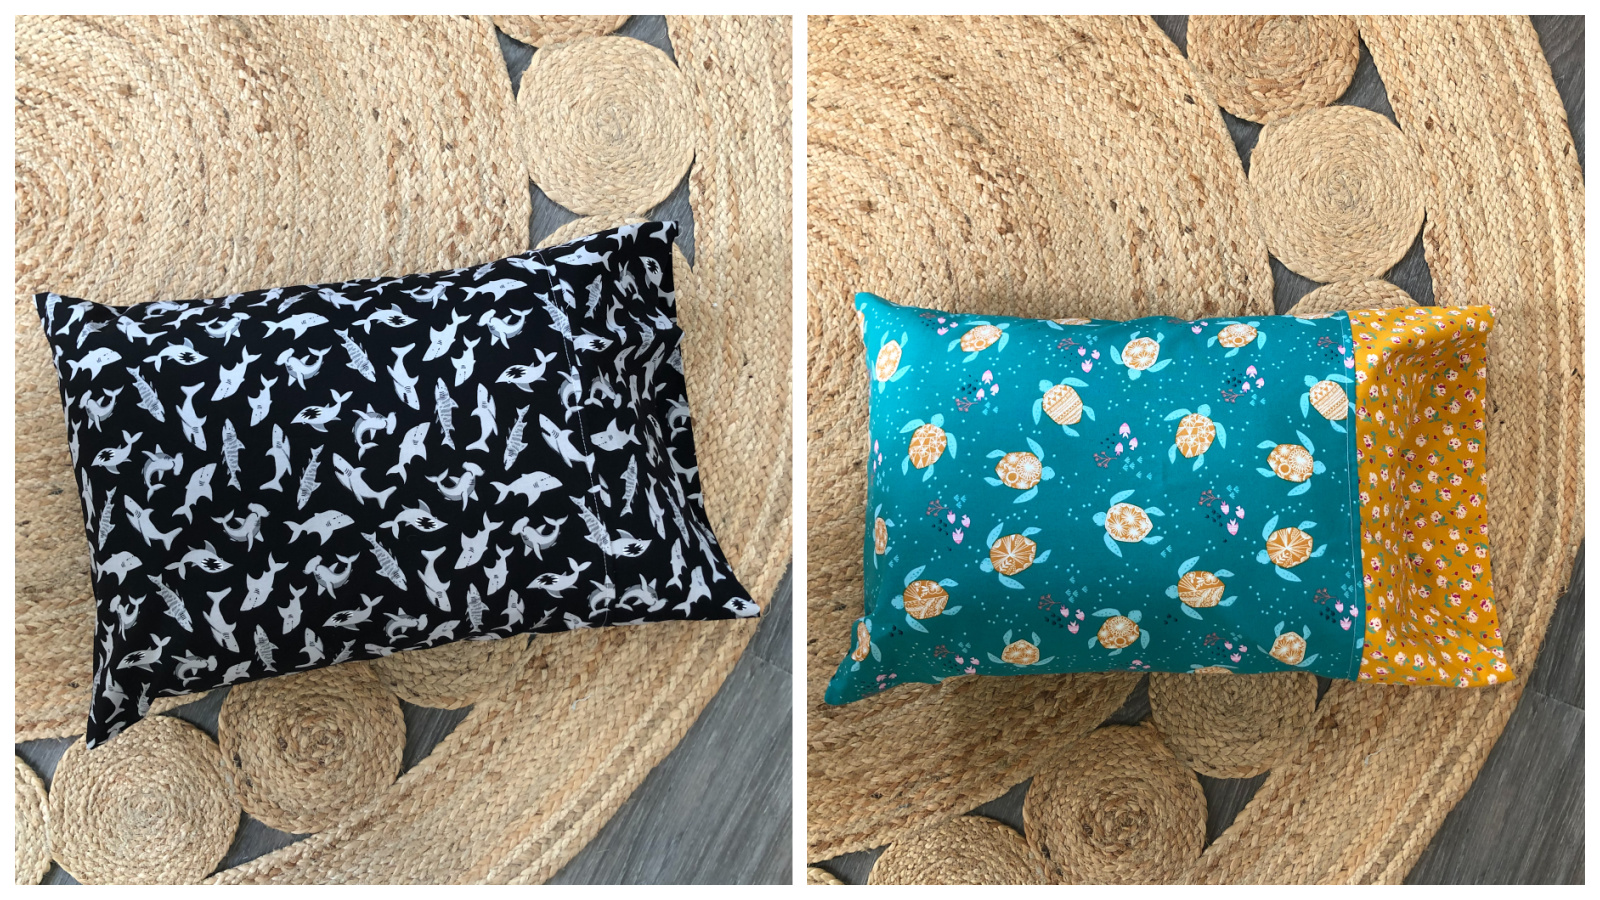
Go ahead and make one for all the kids and grandkids! Be creative and use different fabrics for the cuff if you wish.
Happy Sewing,
Michelle
Recent Posts
-
Holiday Sewing: Easy Apron Tutorial (3 sizes!)
Handmade aprons are my jam! I love making an apron for any occasion. It's a great project for m …Nov 9th 2022 -
LINEN FABRIC - PERFECT FOR INTERIOR DECORS & CLOTHING
Hello Fabric-Fairies!For its softness, durability, and anti-bacterial properties, linen is loved by …May 4th 2022 -
Sewing Projects Using Fabric With Words Printed On It
Hello Fabric Lovers! As you already know, this blog is all about creating interesting sewi …Apr 2nd 2022